If you’ve been following me on Instagram at any point during the last two years, you’ve probably seen a bunch of posts and stories about my beautiful ‘69 Bronco! Restoring this car is a project that is close to my heart and I’m so happy with how she turned out. This process has taken a long time (690 days to be exact!) and with the help of some truly amazing people we were able to finish my 1969 Bronco Makeover!
Fireplace Room Decor
Remember that one time I gave my front room a makeover and transformed into a cozy, inviting space with a stunning fireplace? I definitely do! I love it so much and seeing it everyday as I come down my new staircase puts a big smile on my face.
Since completing my front room project, I’ve received several DMs asking how I went about decorating the space and for links to the specific products I used. So I decided to put all my fireplace room decor items in one place!
The Front Room
As a refresher, here’s a little more info about the space.
For years and years I had dreamt of a gorgeous built-in fireplace for my home, but never quite had the right layout for one. When I bought my new house and saw the front room, all I could see was how much potential was in that space. That’s when I knew it would be the perfect room for a gorgeous fireplace design!
Modern Staircase Design Project
We’re already a few months into 2025 and you guys this year I’m focusing on CELEBRATING PROGRESS! I decided to focus on progress because even though it’s super fun to swipe through after photos, it takes a lot of time and effort to create a home and I really want to slow down and enjoy the process!
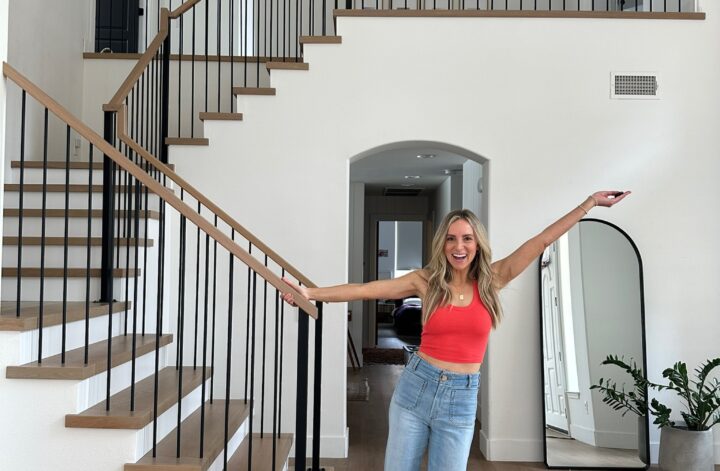
My first project of the year (and one I’ve wanted to do for 2 ½ years!!) was renovating my staircase! I’ve been dreaming about a modern staircase design since the kids and I moved in a couple of years ago and I finally got around to it. Better late than never, right?
Simple and Sleek Staircase Reno
2024 DIY Project Round-Up
2024 came to a close and I am excited to welcome 2025! But before I do…I want to reflect on what I accomplished this past year. We need to celebrate the wins before moving on to the next big thing. Looking back at all the DIY magic made in 2024, I hope it sparks some ideas for your next project and maybe even helps you take a moment to appreciate your own creative wins—big or small!
DIY Fireplace Tiling
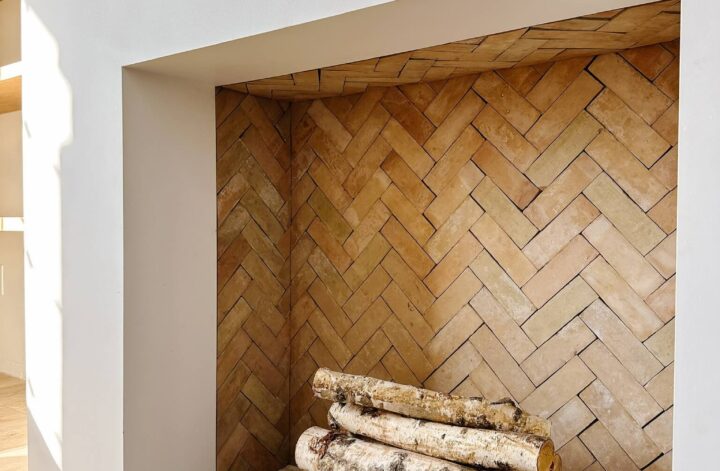
My tiling is DONE for my front room fireplace! I am dang proud of myself. Remember my front room fireplace update? Well, I’ve added the fireplace tile and am dedicating a post to celebrate! If you’ve ever thought of DIYing your fireplace tiling, this is your sign to do it!
2-Day Laundry Glow-Up
Do you have a space in your house that is in desperate need of a makeover, but you don’t have the time to spend weeks committing to a major reno? If so, I’ve got an inspo post for you!
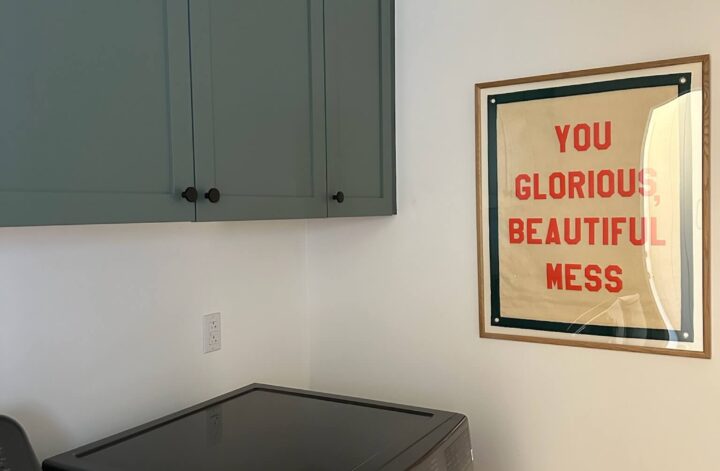
My laundry room desperately needed a little upgrade, so I decided to give it a 2-day laundry glow-up! Best of all? It only took me a weekend to complete! This space looks totally transformed with a new LG washer and dryer, fresh cabinet doors, and some artwork hung on the wall. I’ve never been so excited to do laundry!
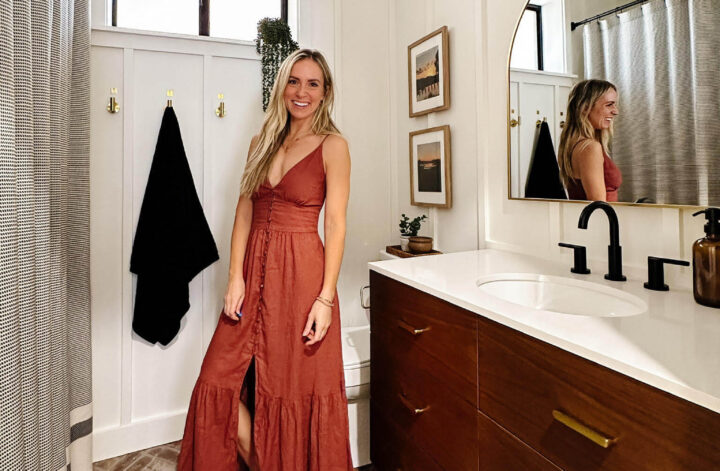
Kellie’s Guest Bathroom Makeover
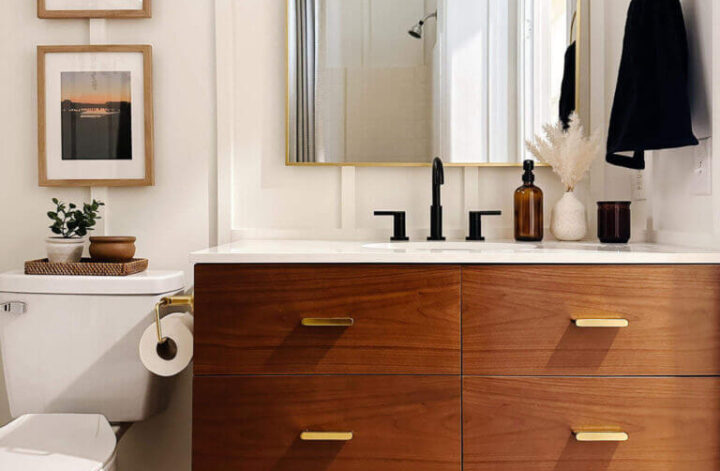
My friend Kellie asked me to help give her guest bathroom a makeover and I was immediately all in. I met Kellie for the first time in November 2023 when we made over her dining room for my DIY Together YouTube series. Now we’ve become real-life best friends. I was so excited to take on this guest bathroom makeover with her!
Colton’s Boy’s Bedroom Makeover
While on vacation, I saw some super rad headboards painted on the wall. They were amazing, and I just knew I wanted to recreate something similar in my own house. So for Colton’s 13th birthday, I gave him a super fun boy’s bedroom makeover. And it provided the perfect opportunity to create a DIY-painted headboard wall that I was dying to make!
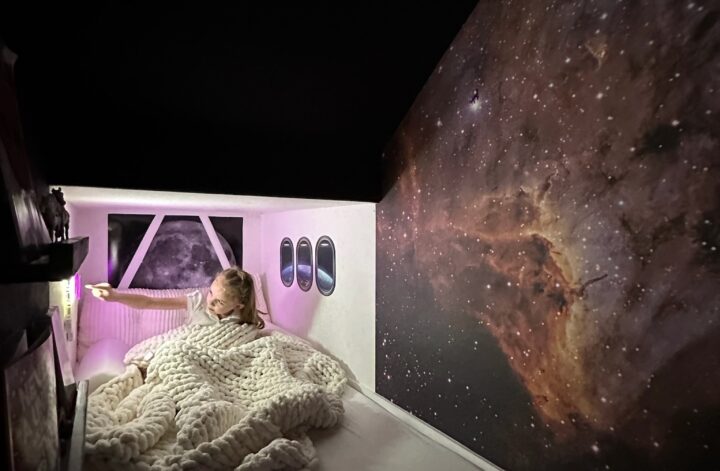
DIY Kids Space Closet
You guys, nothing brings out my inner nerd more than making fun themed spaces for my kids. It makes me so happy! Remember the DIY Hogwarts Great Hall? And the Giant Lite Brite? And did you see the way I geeked out over my dad’s Eclipse photos? I’ve always been fascinated by space!
Over the last two years, both of my boys have become OBSESSED with outer space. As in, they put together their own space presentations for Aubrey and me. It’s the best!
Hence, the reason for this under the stairs space closet!
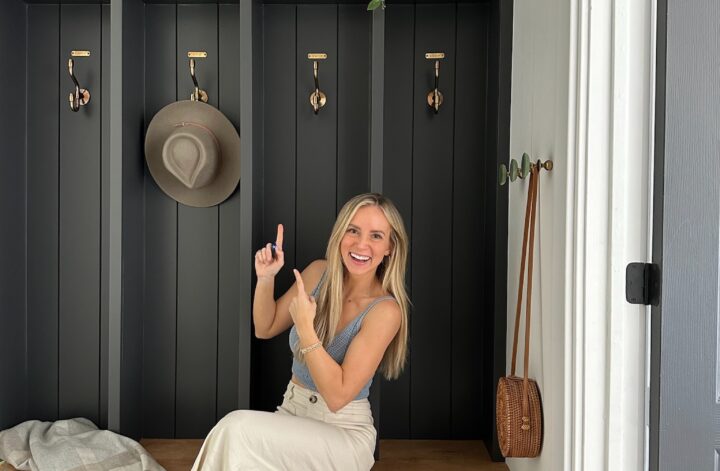
DIY Built-in Mudroom
Sometimes when I start a project, my vision for it changes along the way. For the most part, this DIY built-in mudroom project turned out pretty close to what I imagined. I combined a few different elements from the inspiration photos and put together a list of my must haves: moody paint, a stained bench, vertical planking, gold hooks, and the finishing touch – arches! While I debated doing open or closed lockers, I figured the extra step to open the lockers and hang a backpack wouldn’t work well for my kids. So I went with open dividers and I love the way it turned out!
I’m sharing with you all the steps I followed to create a DIY built-in mudroom for my kids (and myself!) in our house.


