Search results
209 results found.
STOP PINNING. START DOING.
209 results found.
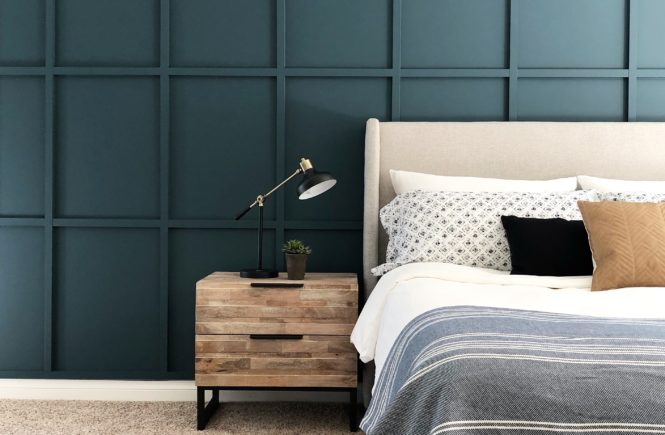
It’s all here! What TO do, and what NOT to do for the most professional-looking board and batten wall! I now want one in every room in my house :). First of all, board and batten basically just means putting wood/mdf strips on your wall in a pattern or design! I love it because is an affordable way (only$150!) to give a space character, add a focal point, and elevate your space.
Now let’s all build a board and batten wall!
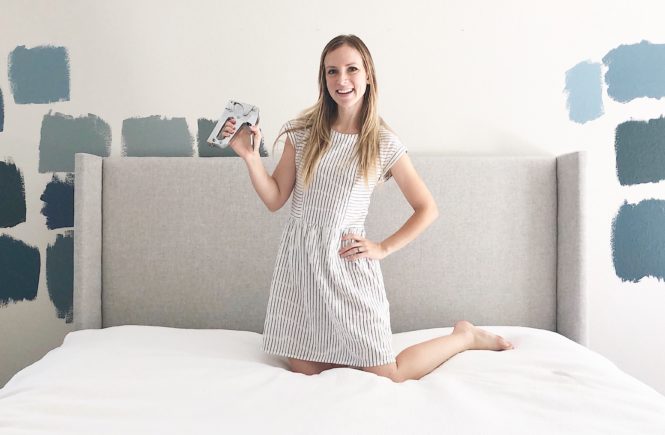
Let’s play a little game. What takes a sheet of plywood, one XL twin mattress pad, and a pair of curtain panels? THIS headboard! I’ve been wanting a headboard for a while now, and finally decided it was time to take matters into my own hands and stop waiting until I could save up for a dream one $$$. And I love how this turned out. Here is the whole tutorial so you can build one too (and it’s NO SEW)!
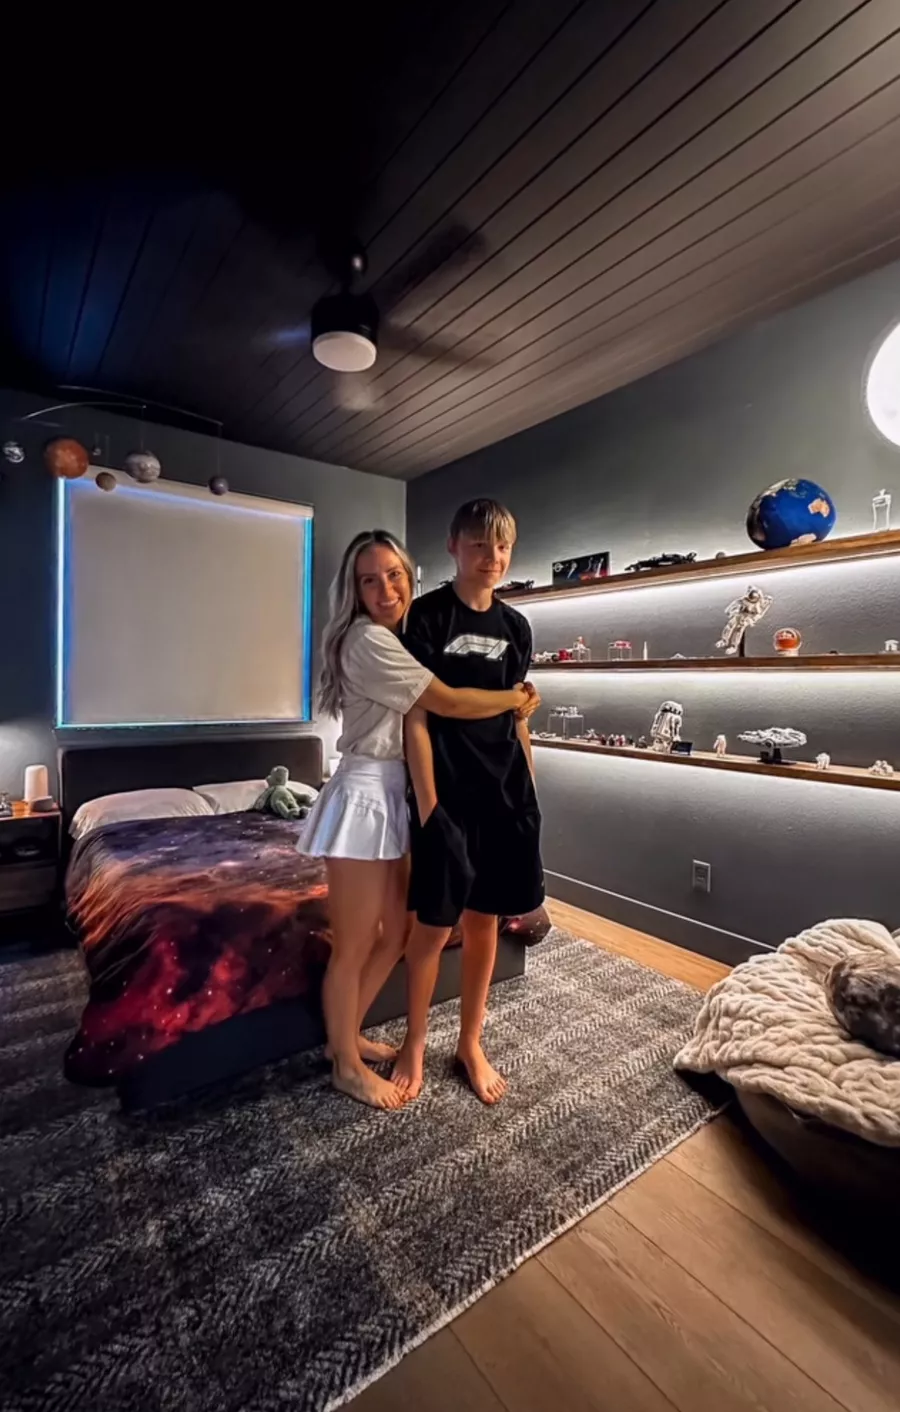
This summer, I decided to press pause on all the adult projects and do something with my kids—not just for them. Time is flying, and Blake (who’s growing up faster than I’m ready for) wanted to redo his bedroom. So we made a deal: he’d be in charge of the ideas, and I’d be his DIY sidekick. It meant letting go of control (deep breaths), but what happened was better than I imagined.
This room became a mix of his big ideas and our teamwork—and I honestly love how it turned out. It’s bold, cool, and completely his.

If you’ve been following me on Instagram at any point during the last two years, you’ve probably seen a bunch of posts and stories about my beautiful ‘69 Bronco! Restoring this car is a project that is close to my heart and I’m so happy with how she turned out. This process has taken a long time (690 days to be exact!) and with the help of some truly amazing people we were able to finish my 1969 Bronco Makeover!

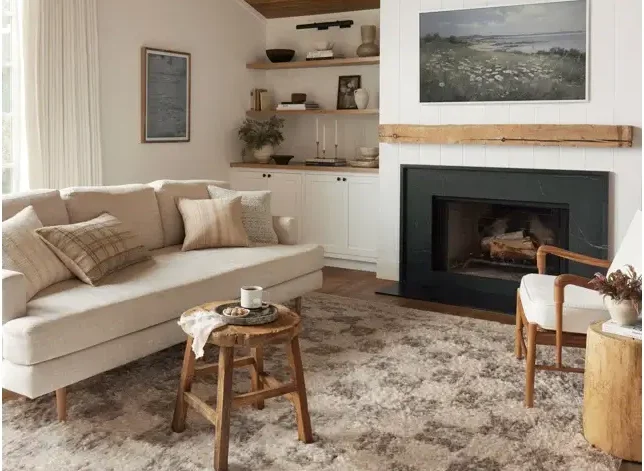
Remember that one time I gave my front room a makeover and transformed into a cozy, inviting space with a stunning fireplace? I definitely do! I love it so much and seeing it everyday as I come down my new staircase puts a big smile on my face.
Since completing my front room project, I’ve received several DMs asking how I went about decorating the space and for links to the specific products I used. So I decided to put all my fireplace room decor items in one place!
As a refresher, here’s a little more info about the space.
For years and years I had dreamt of a gorgeous built-in fireplace for my home, but never quite had the right layout for one. When I bought my new house and saw the front room, all I could see was how much potential was in that space. That’s when I knew it would be the perfect room for a gorgeous fireplace design!
We’re already a few months into 2025 and you guys this year I’m focusing on CELEBRATING PROGRESS! I decided to focus on progress because even though it’s super fun to swipe through after photos, it takes a lot of time and effort to create a home and I really want to slow down and enjoy the process!
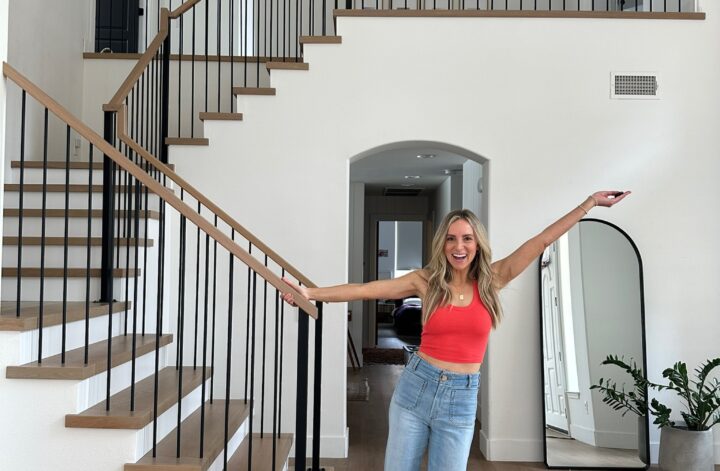
My first project of the year (and one I’ve wanted to do for 2 ½ years!!) was renovating my staircase! I’ve been dreaming about a modern staircase design since the kids and I moved in a couple of years ago and I finally got around to it. Better late than never, right?
Black Friday and the holiday season snuck up on us, but at least we didn’t miss these deals! Shop your favorites or find some awesome gifts for your friends and family. I gathered my absolute favorite products I’m using right now and put together this ultimate Black Friday Gift Guide! I hope you find some new things to love.
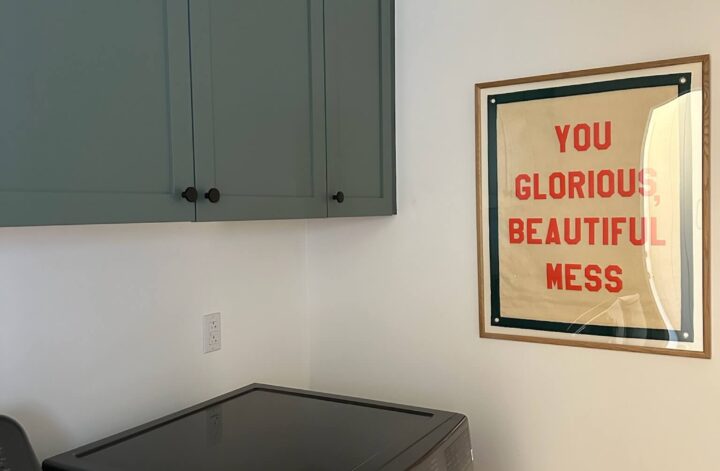
Do you have a space in your house that is in desperate need of a makeover, but you don’t have the time to spend weeks committing to a major reno? If so, I’ve got an inspo post for you!
My laundry room desperately needed a little upgrade, so I decided to give it a 2-day laundry glow-up! Best of all? It only took me a weekend to complete! This space looks totally transformed with a new LG washer and dryer, fresh cabinet doors, and some artwork hung on the wall. I’ve never been so excited to do laundry!
Are you looking for ways to upgrade your home or give a room a fresh new look? I have the BEST Angela Rose collabs that will make a huge impact in your space. These are some of my absolute favorite home products, and I can’t wait for them to become your favorite too. Get ready to fall in love with your home space all over again after adding any of these to your home!