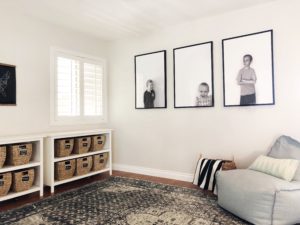
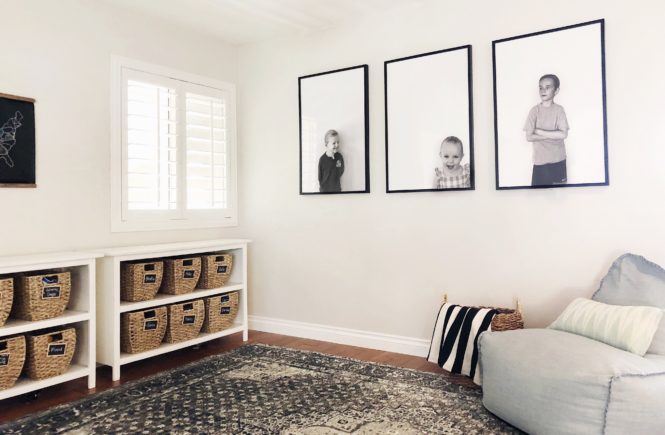
I hope I can answer alllllll the how-to questions for making large scale engineer prints in this post! Let me get right down to it. This whole project was $70! $3 for each print, and $19 for each frame. I got tons of ideas from Chris Loves Julia’s post. Here’s what I will outline:
- Take and edit your photos (on your phone, no special software)
- How to print (from Staples online)
- How to frame
1. Take and edit your photos.
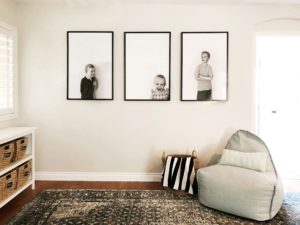
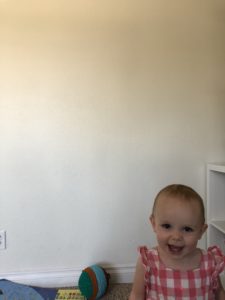
I had my kids stand in front of a plain white wall. The more plain the background the better. I wanted them to look natural so I just snapped a bunch of pictures without them even really posing. I also wanted them each different sizes in the photos, so I made sure to think about the negative space around them.





When you have the images you like, you can edit them right on your phone. Here are the step by step screen shots of how you can edit your photos.
Click on photo you want to edit, and hit the edit button in the upper right.
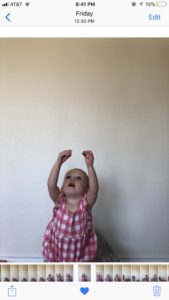
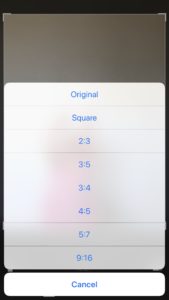
Crop image, and hit little icon on right to change to 2:3. Hit Done.
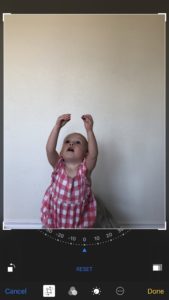
Next, hit edit again, and then select those three overlapping circles. Here you’ll change it to black and white. Hit Done.

Lastly, you can select that clock looking icon and lighten up the photo a bit by selecting Light and dragging to the left or right.

Now you have your edited image!


2. Order Your Prints!
I ordered my engineer prints from Staples online. Each 24x36in print was $3.56. They also have 18×24 and 36×48 sizes. Here is a 1 minute video for how to order your prints.
https://www.youtube.com/watch?v=Wm8x4xNyYNs
3. Framing
For framing, I used 3 black RIBBA Ikea frames in the poster size for $19 each. If you don’t have an IKEA, here is another affordable option on amazon for around $20 a frame.

You did it! Super cute wall art for a super affordable price. Way to go!
