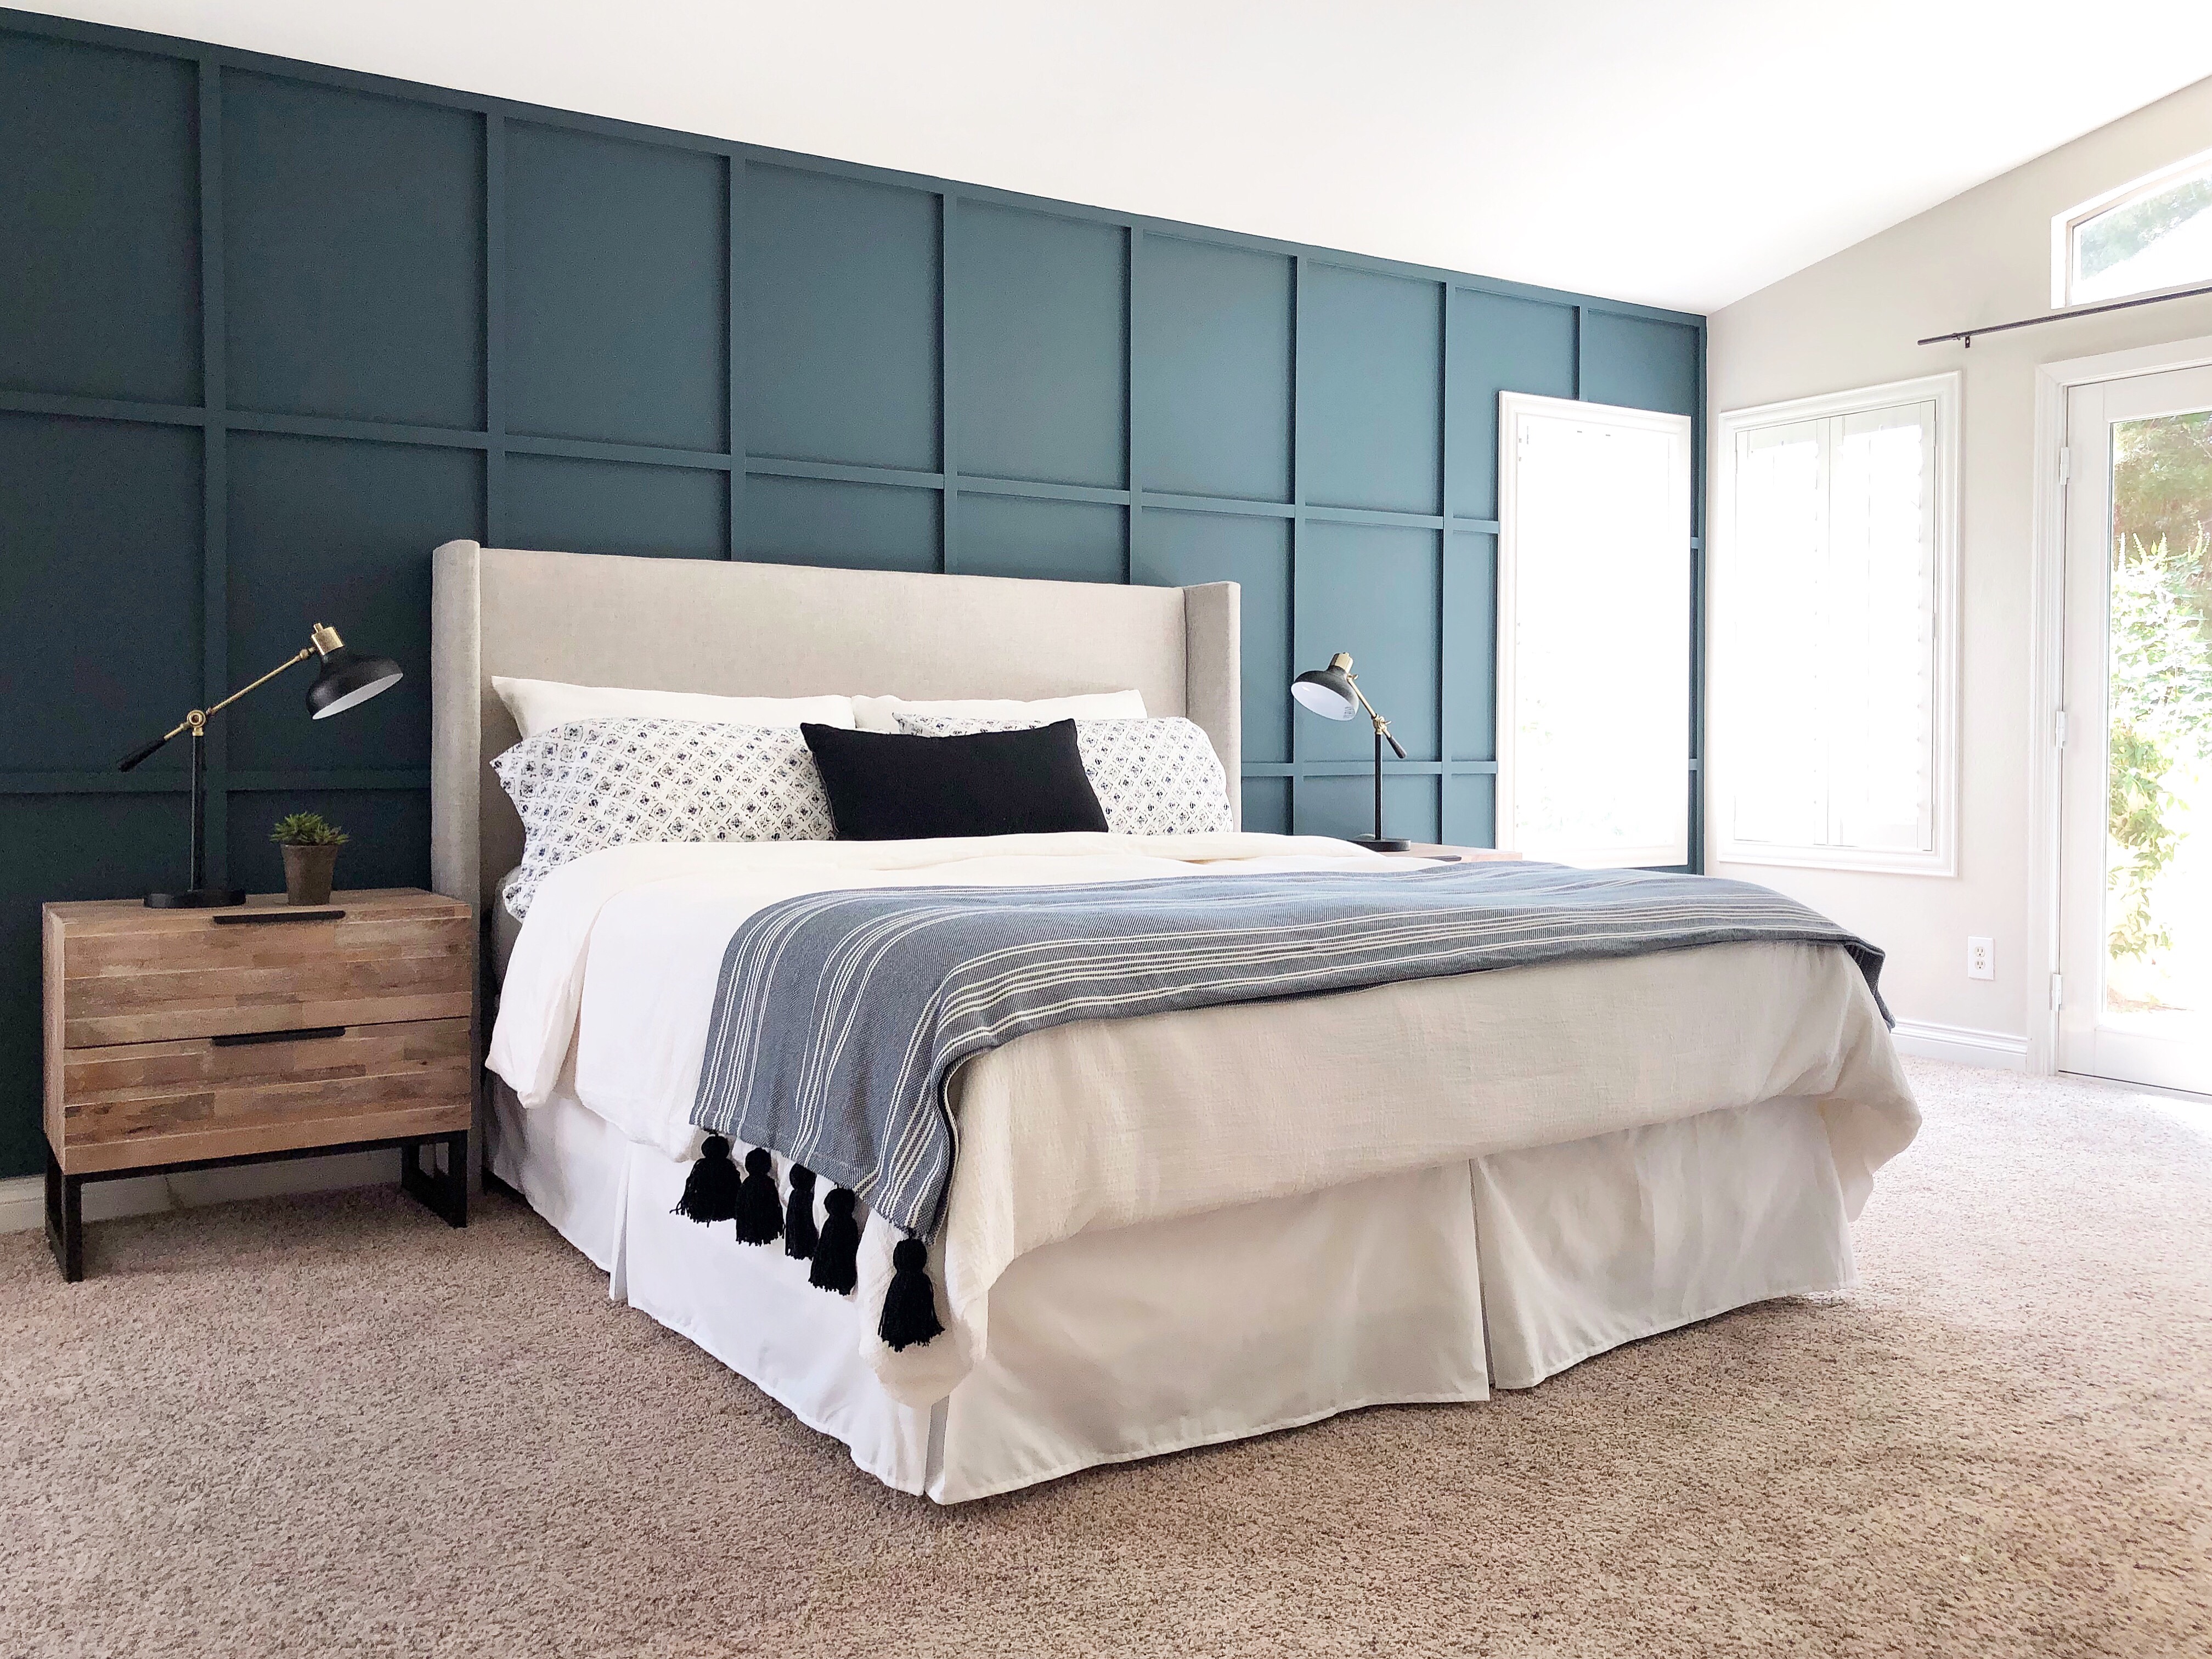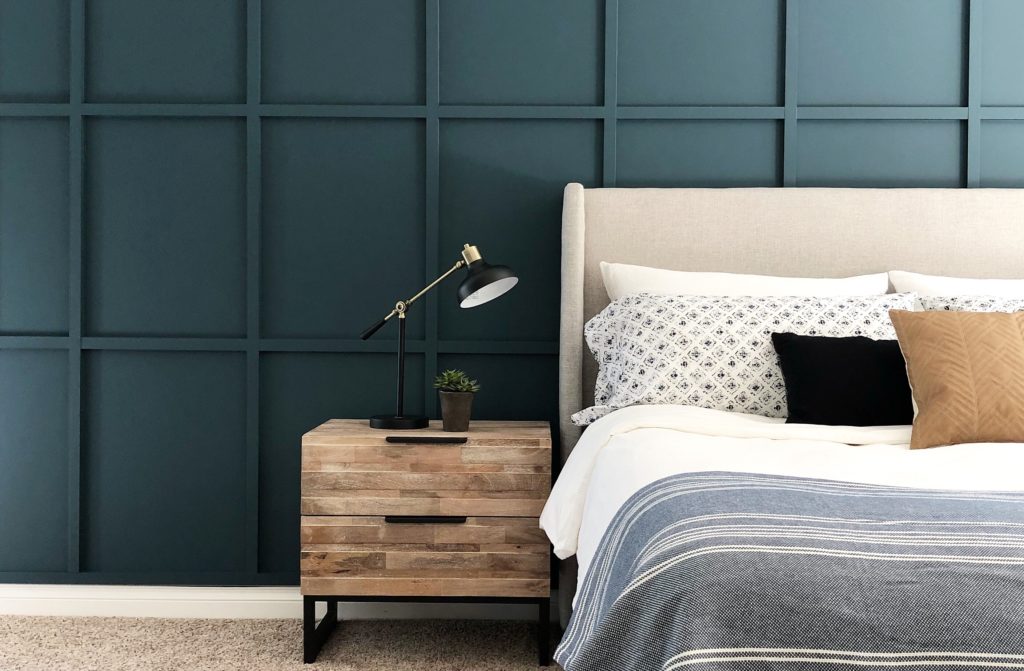
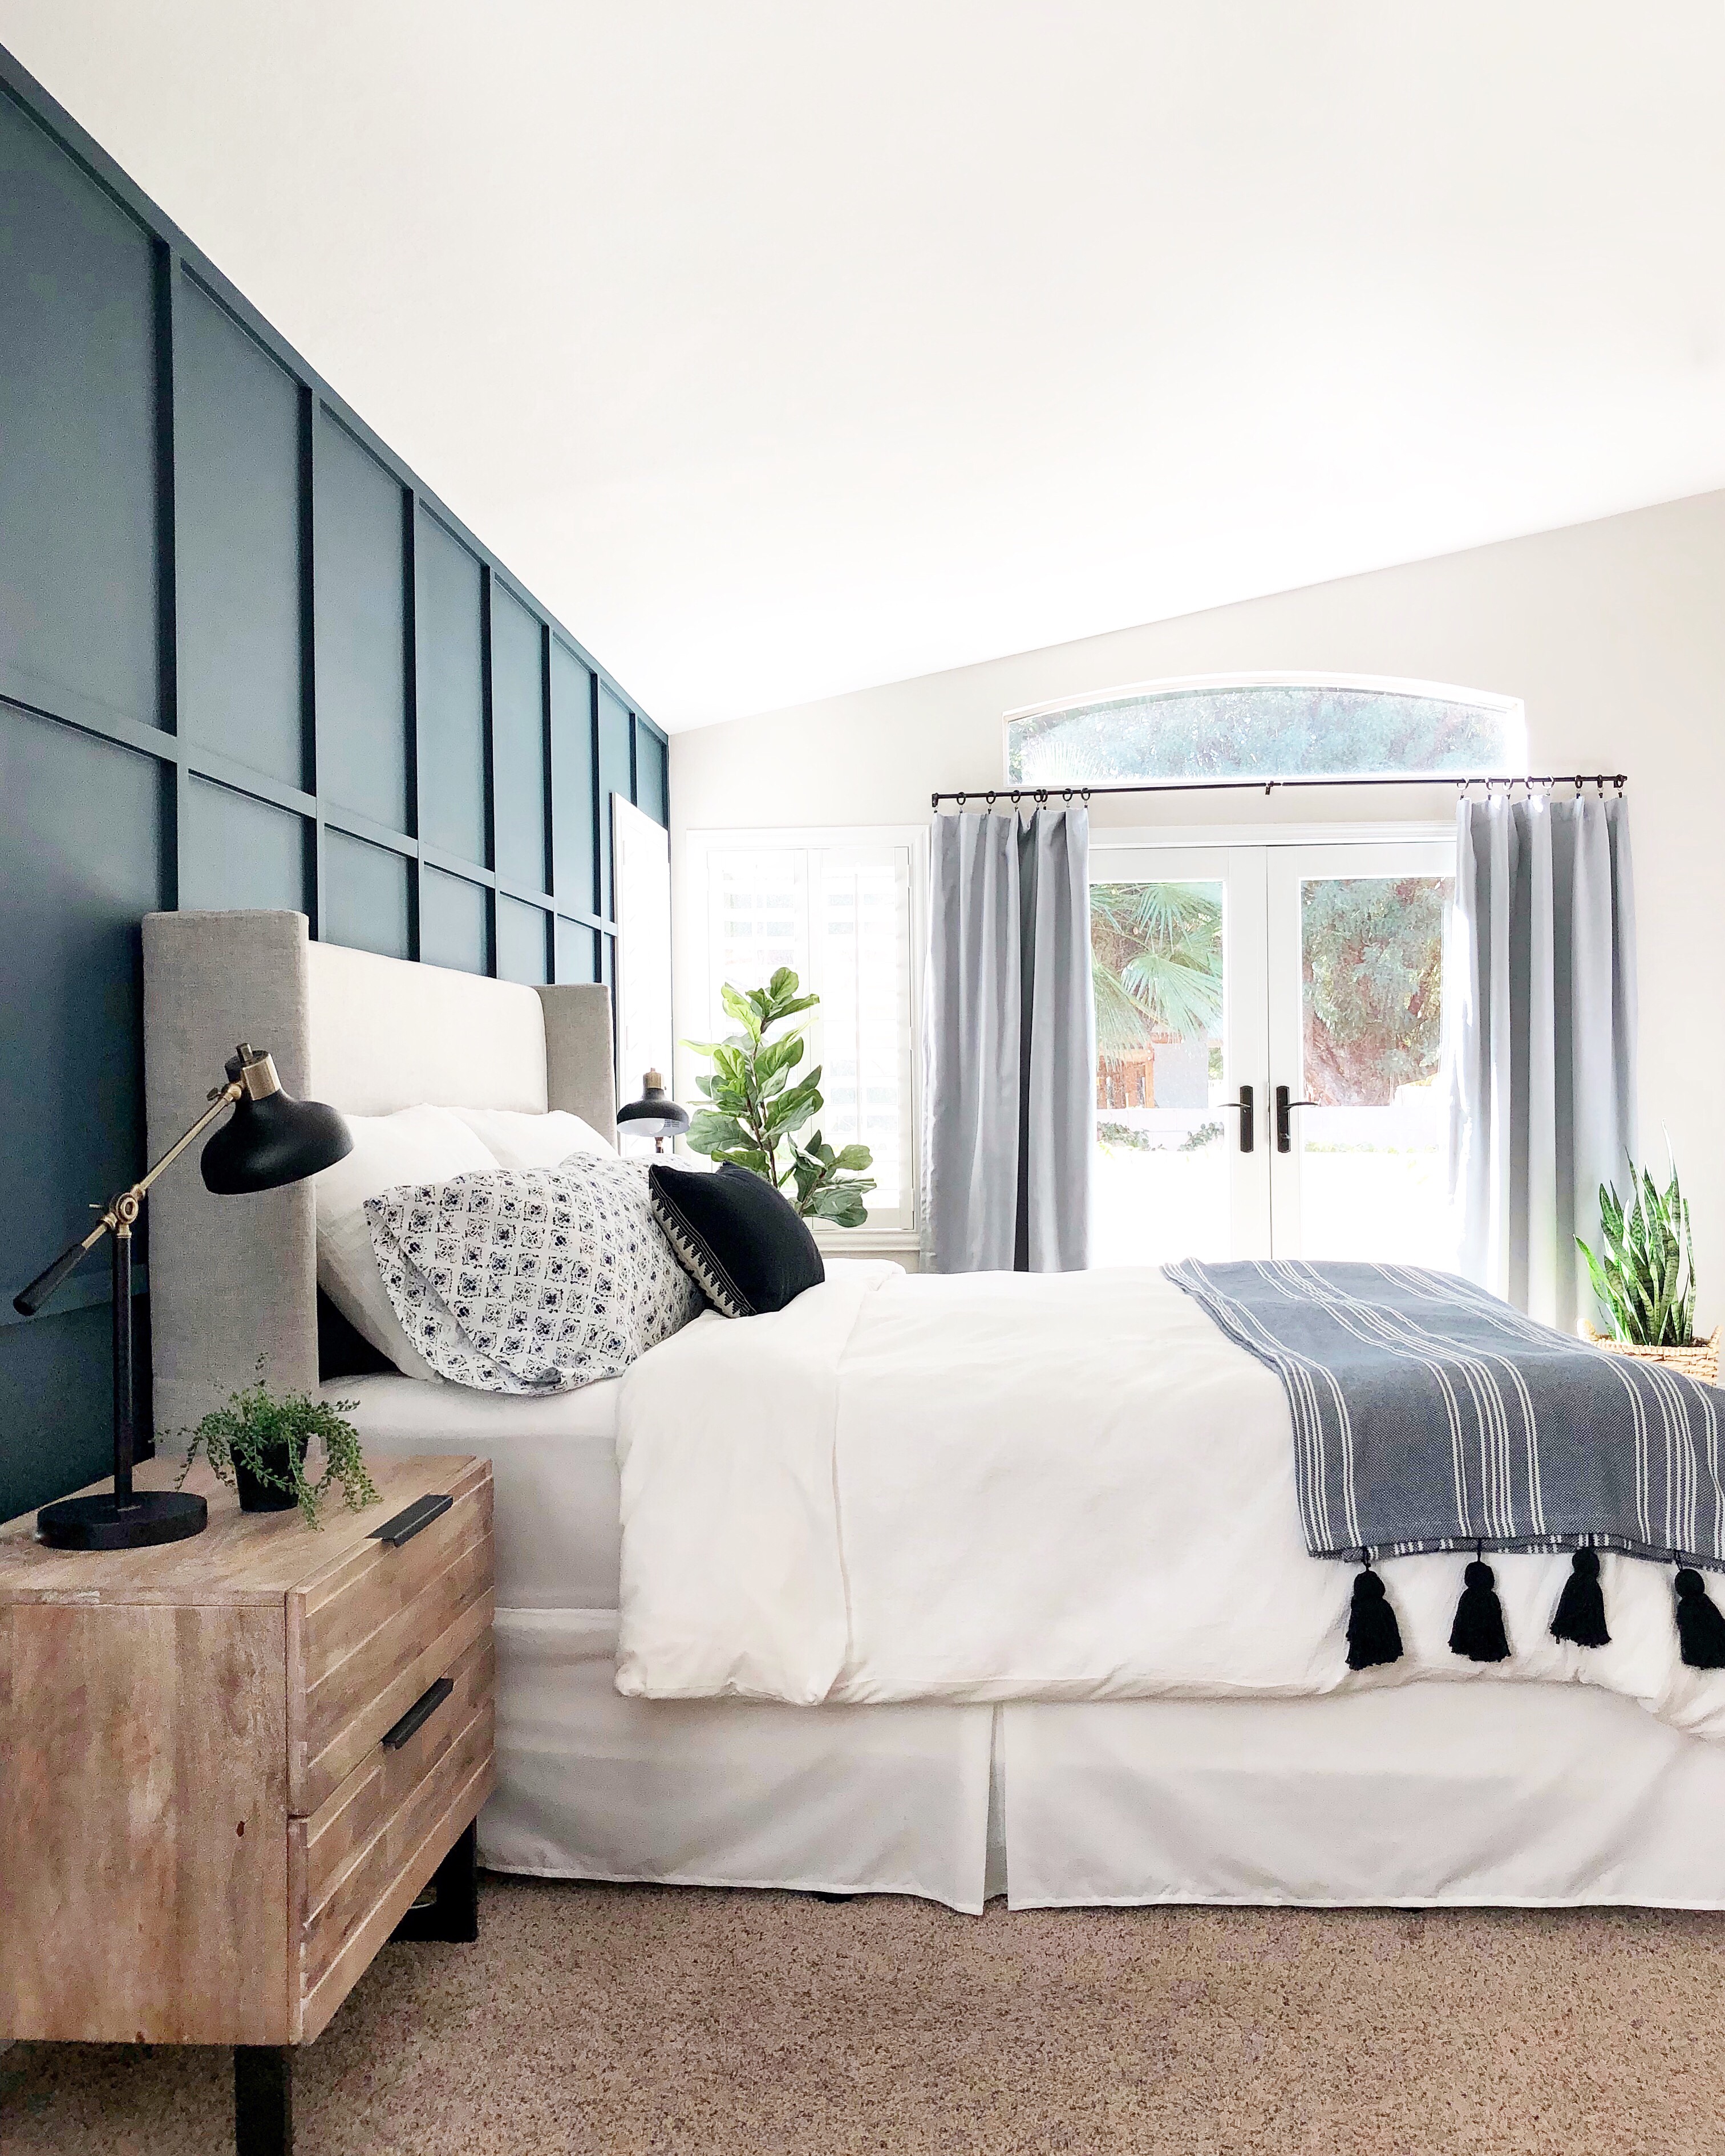
It’s all here! What TO do, and what NOT to do for the most professional-looking board and batten wall! I now want one in every room in my house :). First of all, board and batten basically just means putting wood/mdf strips on your wall in a pattern or design! I love it because is an affordable way (only$150!) to give a space character, add a focal point, and elevate your space.
Now let’s all build a board and batten wall!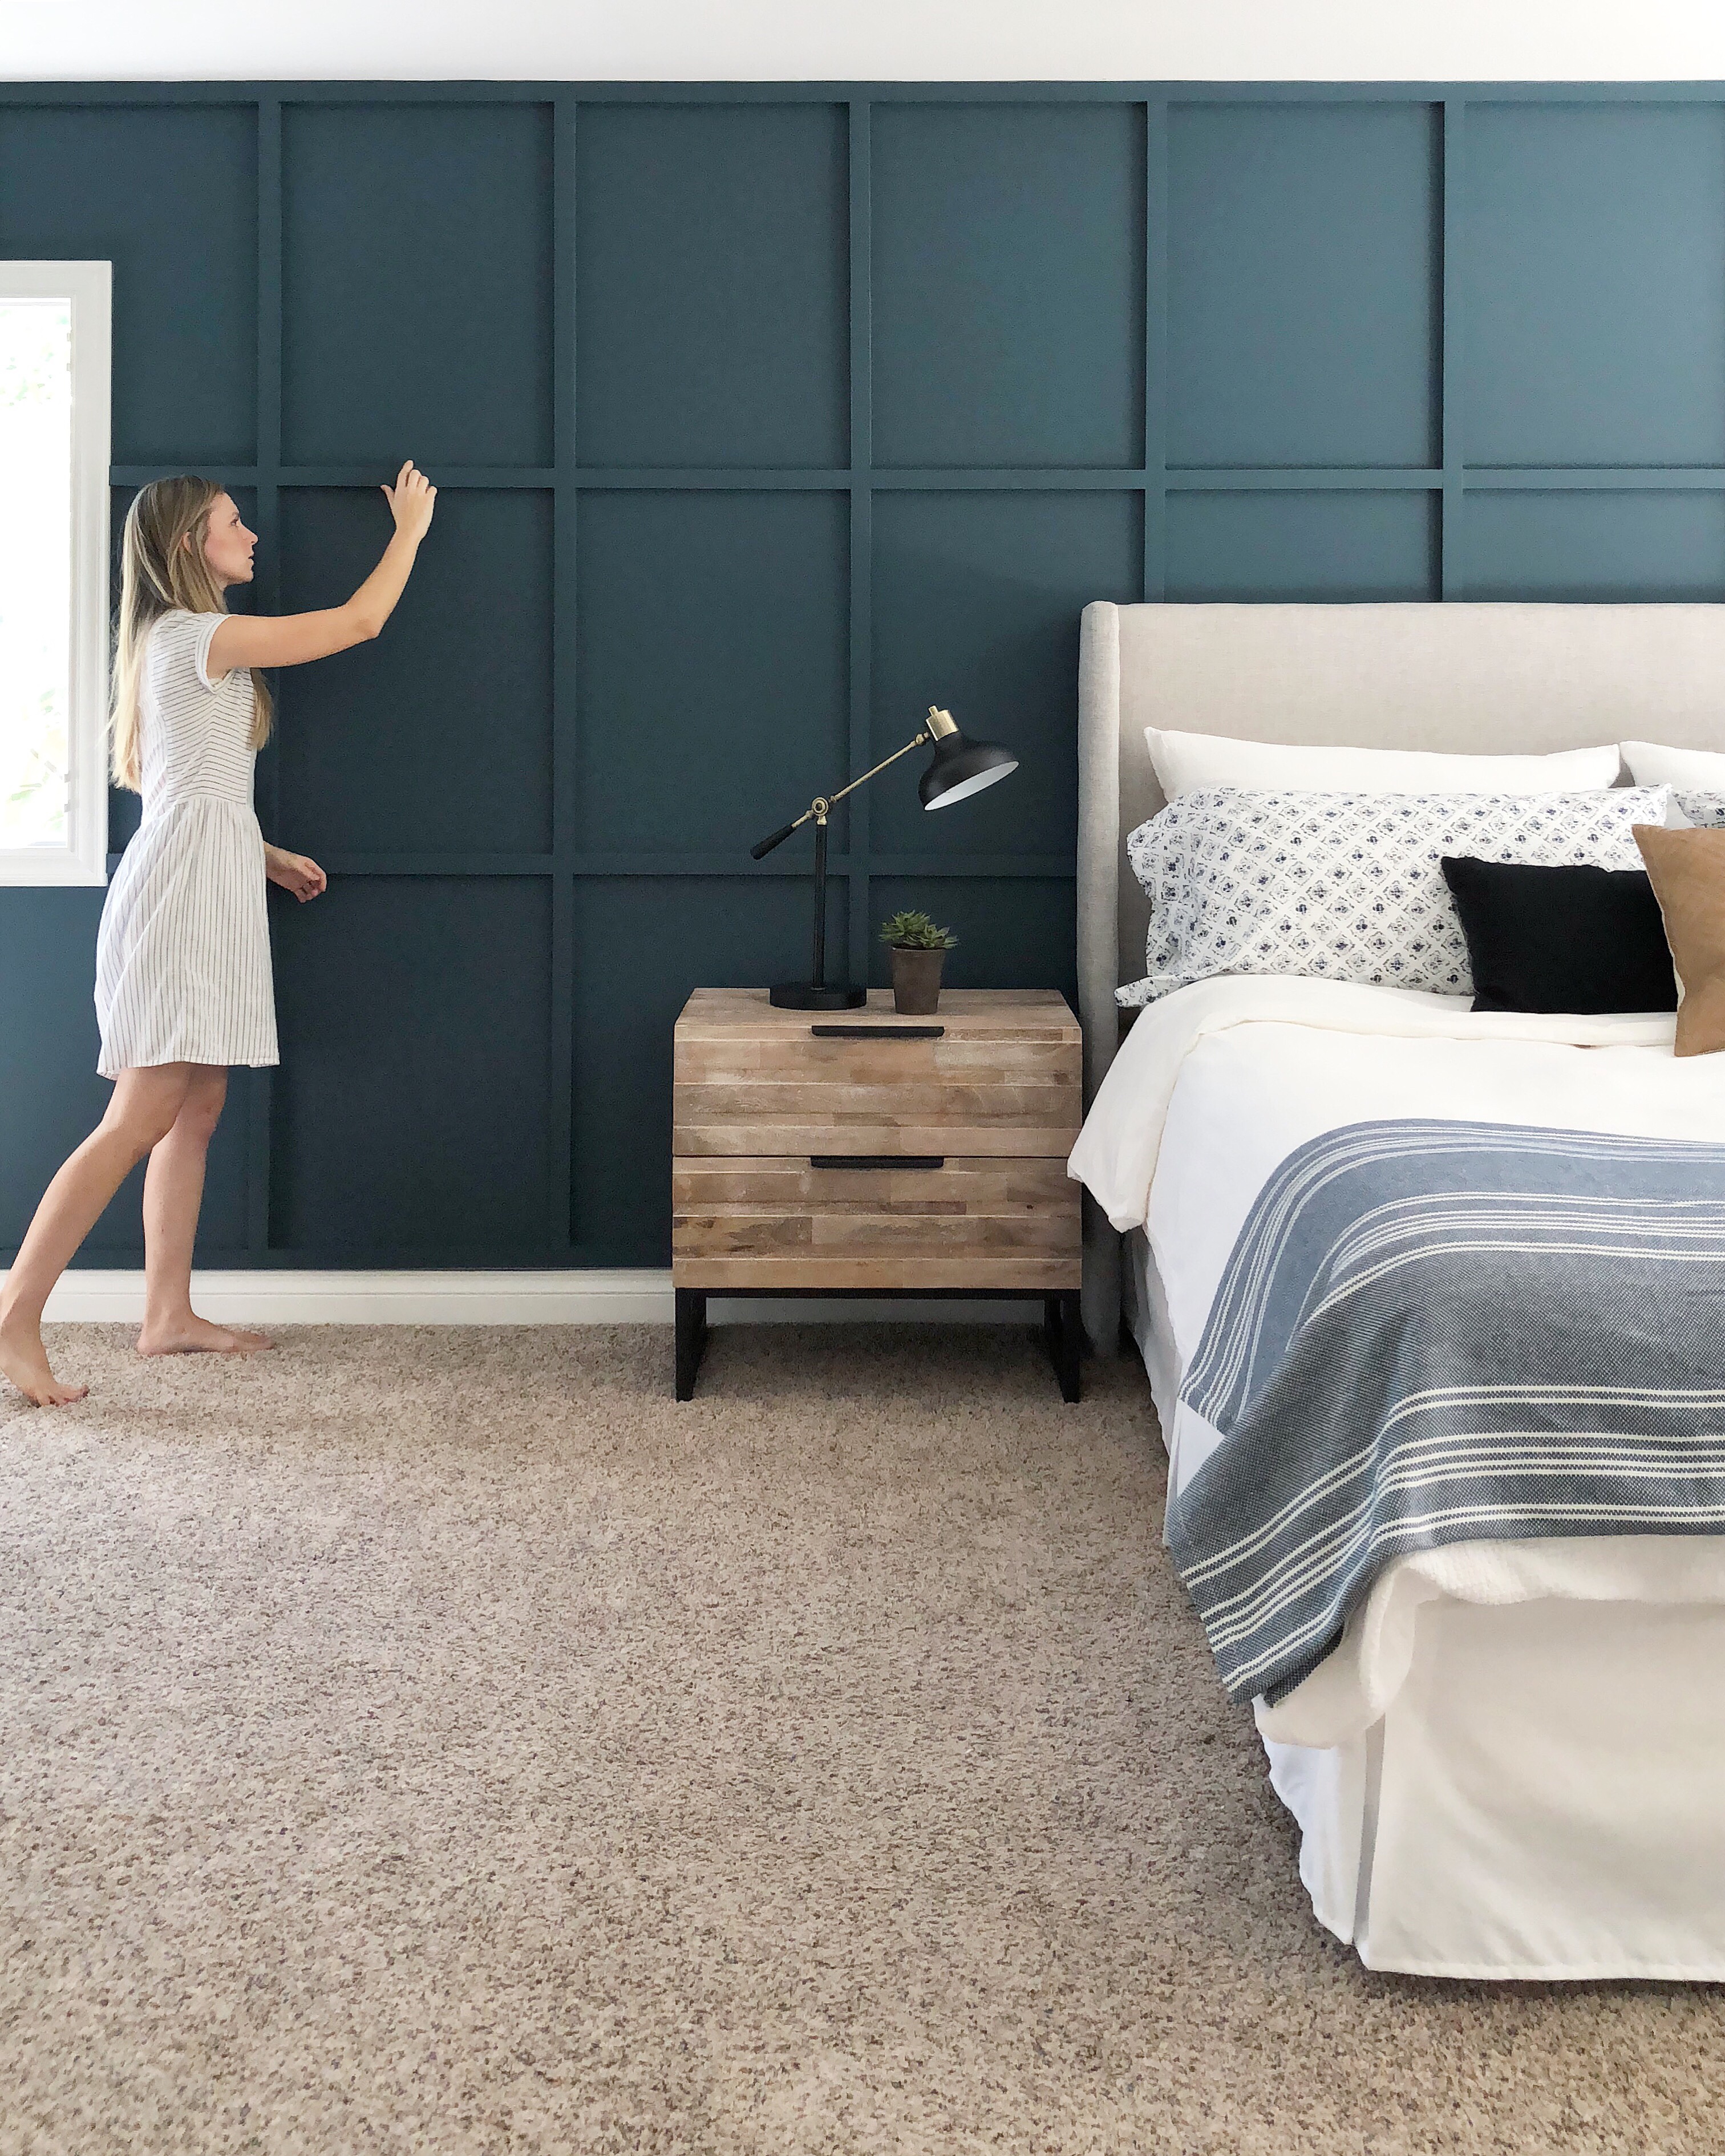
Here’s what you’ll need:
- wood/mdf in the width you want for the batten
- (if your walls have texture) backer board to make walls smooth
- nails
- liquid nails
- wood filler/sandpaper
- paintable caulk
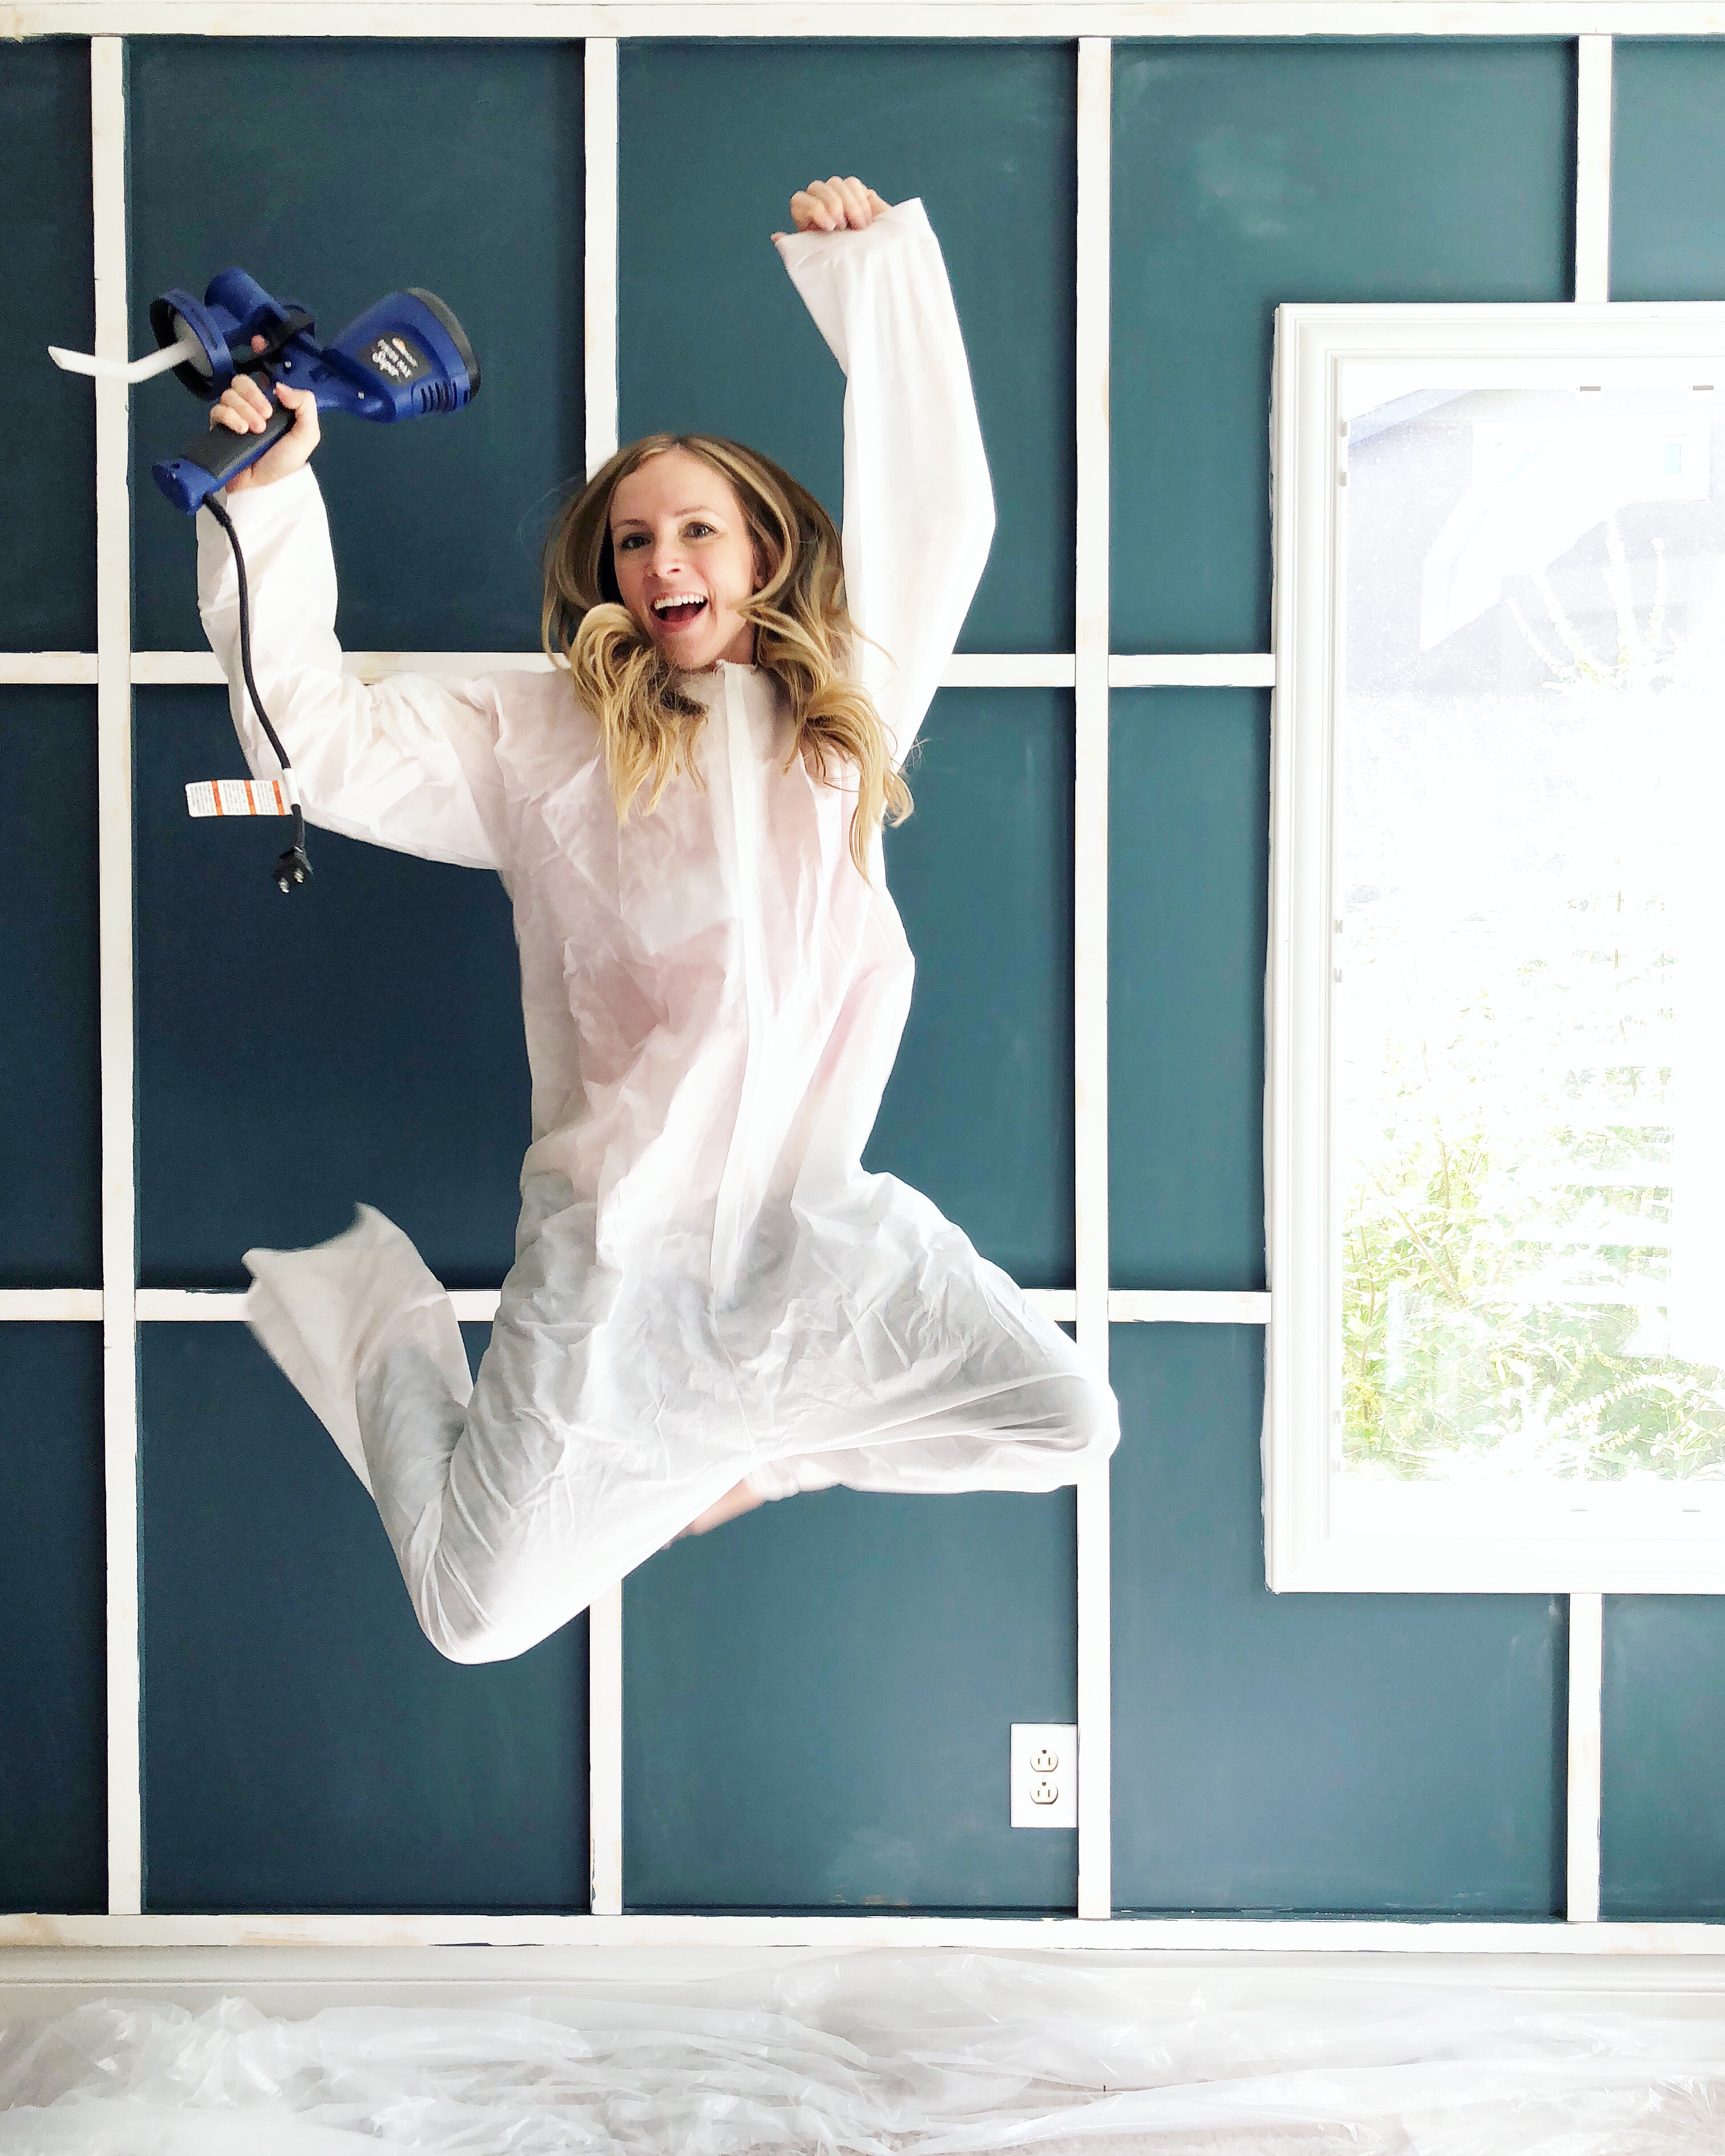
Optional: I used this $99 paint sprayer that made the finish soooooo smooth! I also used this coolest tape with plastic attached to make painting prep easier.

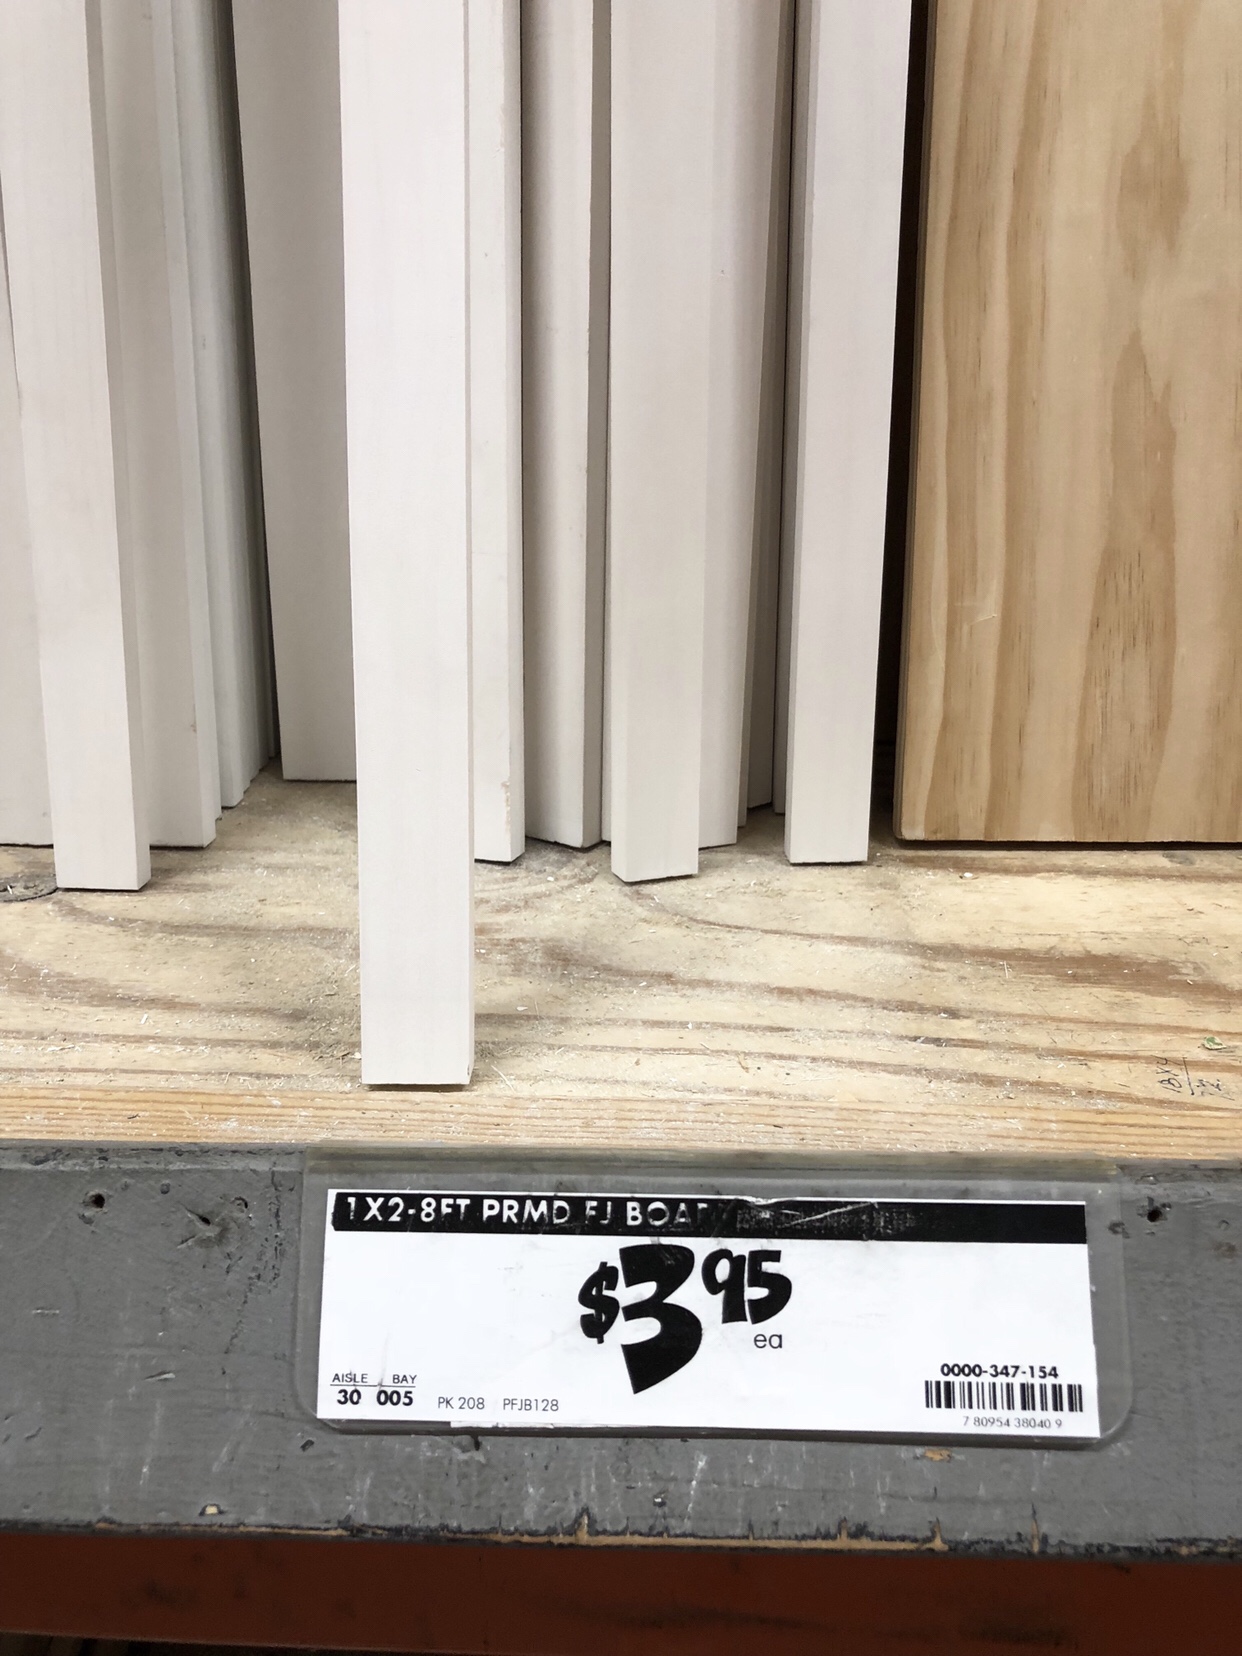
I wanted a thinner look for my batten so I chose a 1×2 fingerjoint pine (see image below). Other options would have been to get just normal or select pine boards, or mdf boards. *Helpful tip: before purchasing boards, always hold them to your eye and look down them to make sure they are straight!
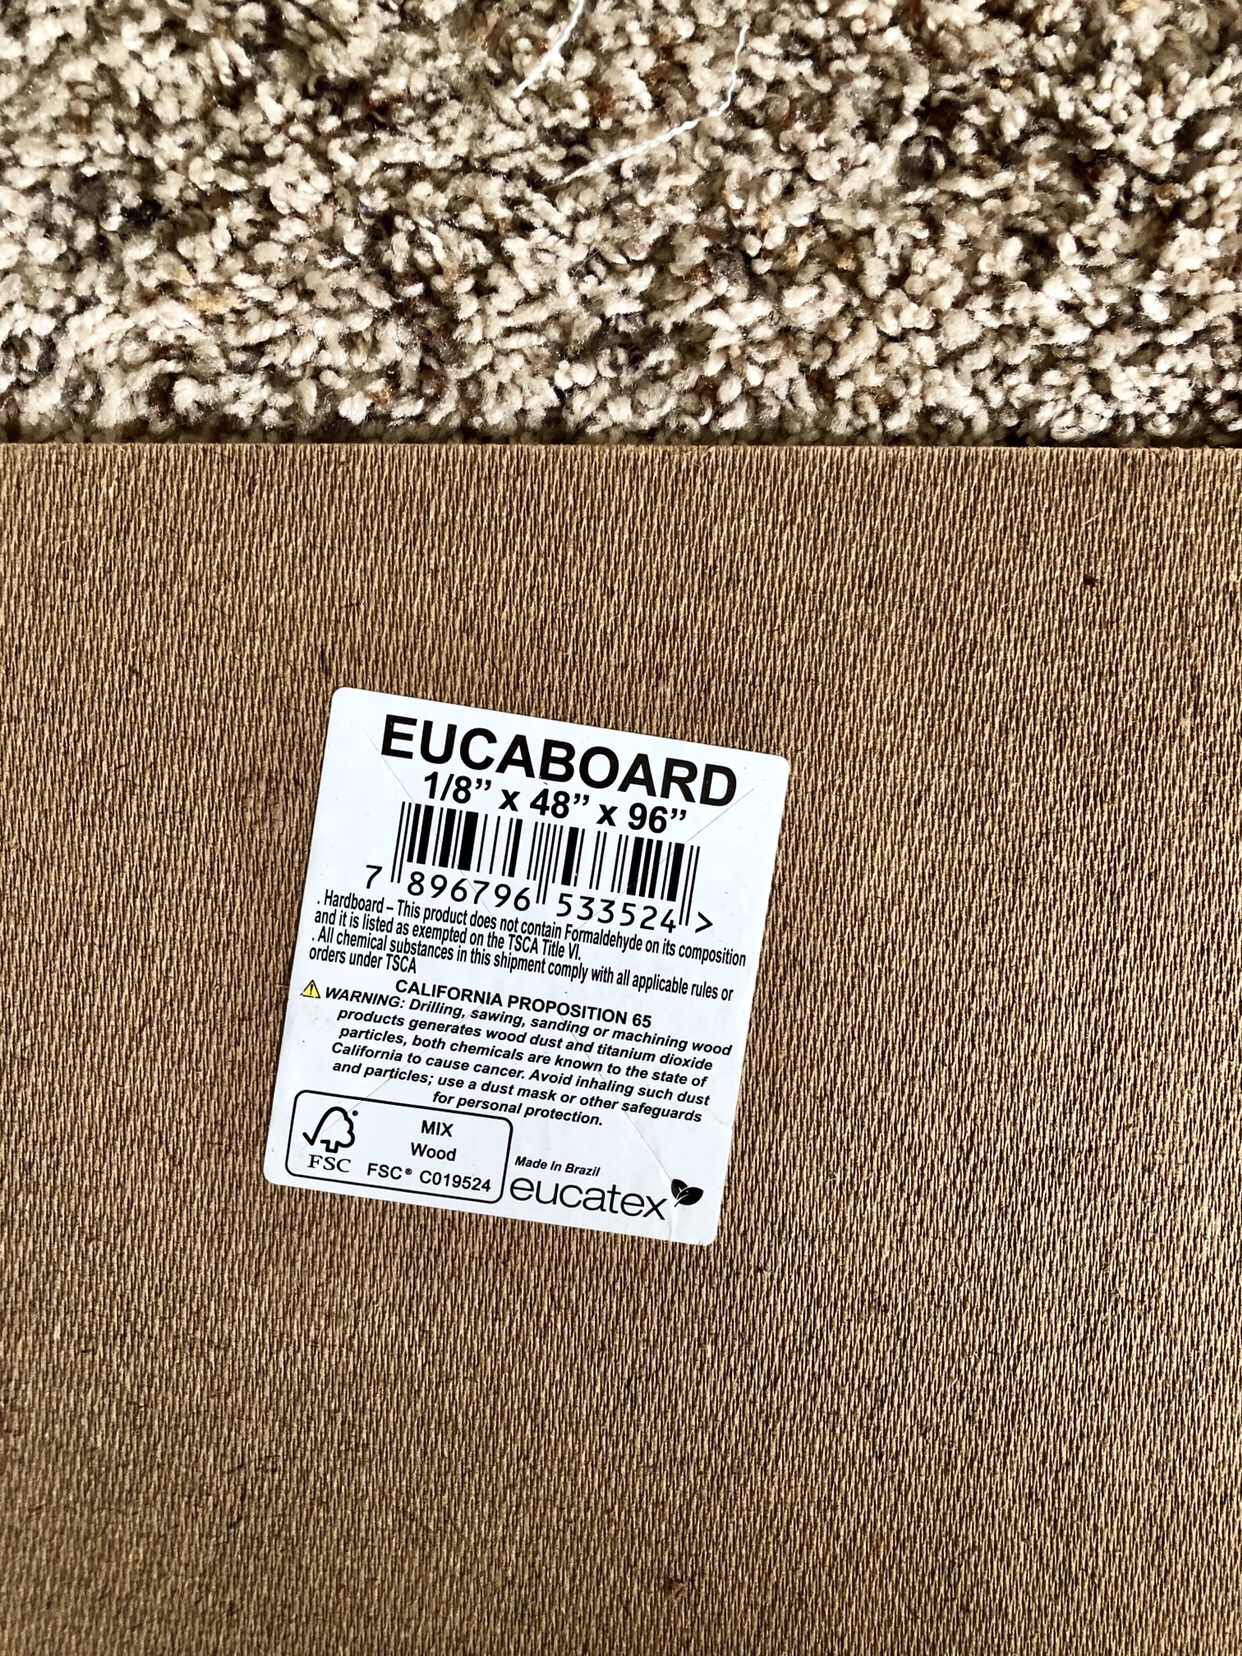
For my backerboard (only if you have textured walls and want a smooth look) I got a 4×8 sheet of the Eucaboard at Home Depot (see pic of tag below). It is dark brown and one side is super smooth. You could also get a thin plywood, but this was cheapest!
STEP 1:Before purchasing anything, you need to draw out your wall and measure where all of your batten trim boards will go. This is super important because in the end you will want to have your backer boards’ seams all covered by the trim pieces. A few things to consider when drawing out your wall:
- Don’t forget a trim piece to go on the very left, right, top and bottom of your wall to frame out the space, if you’d like.
- Remember the REAL dimensions of a 1x2in board is actually 3/4 x 1.5 in, a 1×3 is 3/4 x 2.5 in….
- Keep spacing between trim batten boards the same.
- *Helpful tip: This website can help you calculate where your boards should go!
Once you’ve drawn out your trim batten pieces, you will then (IF you have textured walls) know if you need to have the backer board cut down slightly so all the seams are covered. OR, you could just plan your space already knowing that you want your trim batten pieces to fit with the 48 in width backer board.
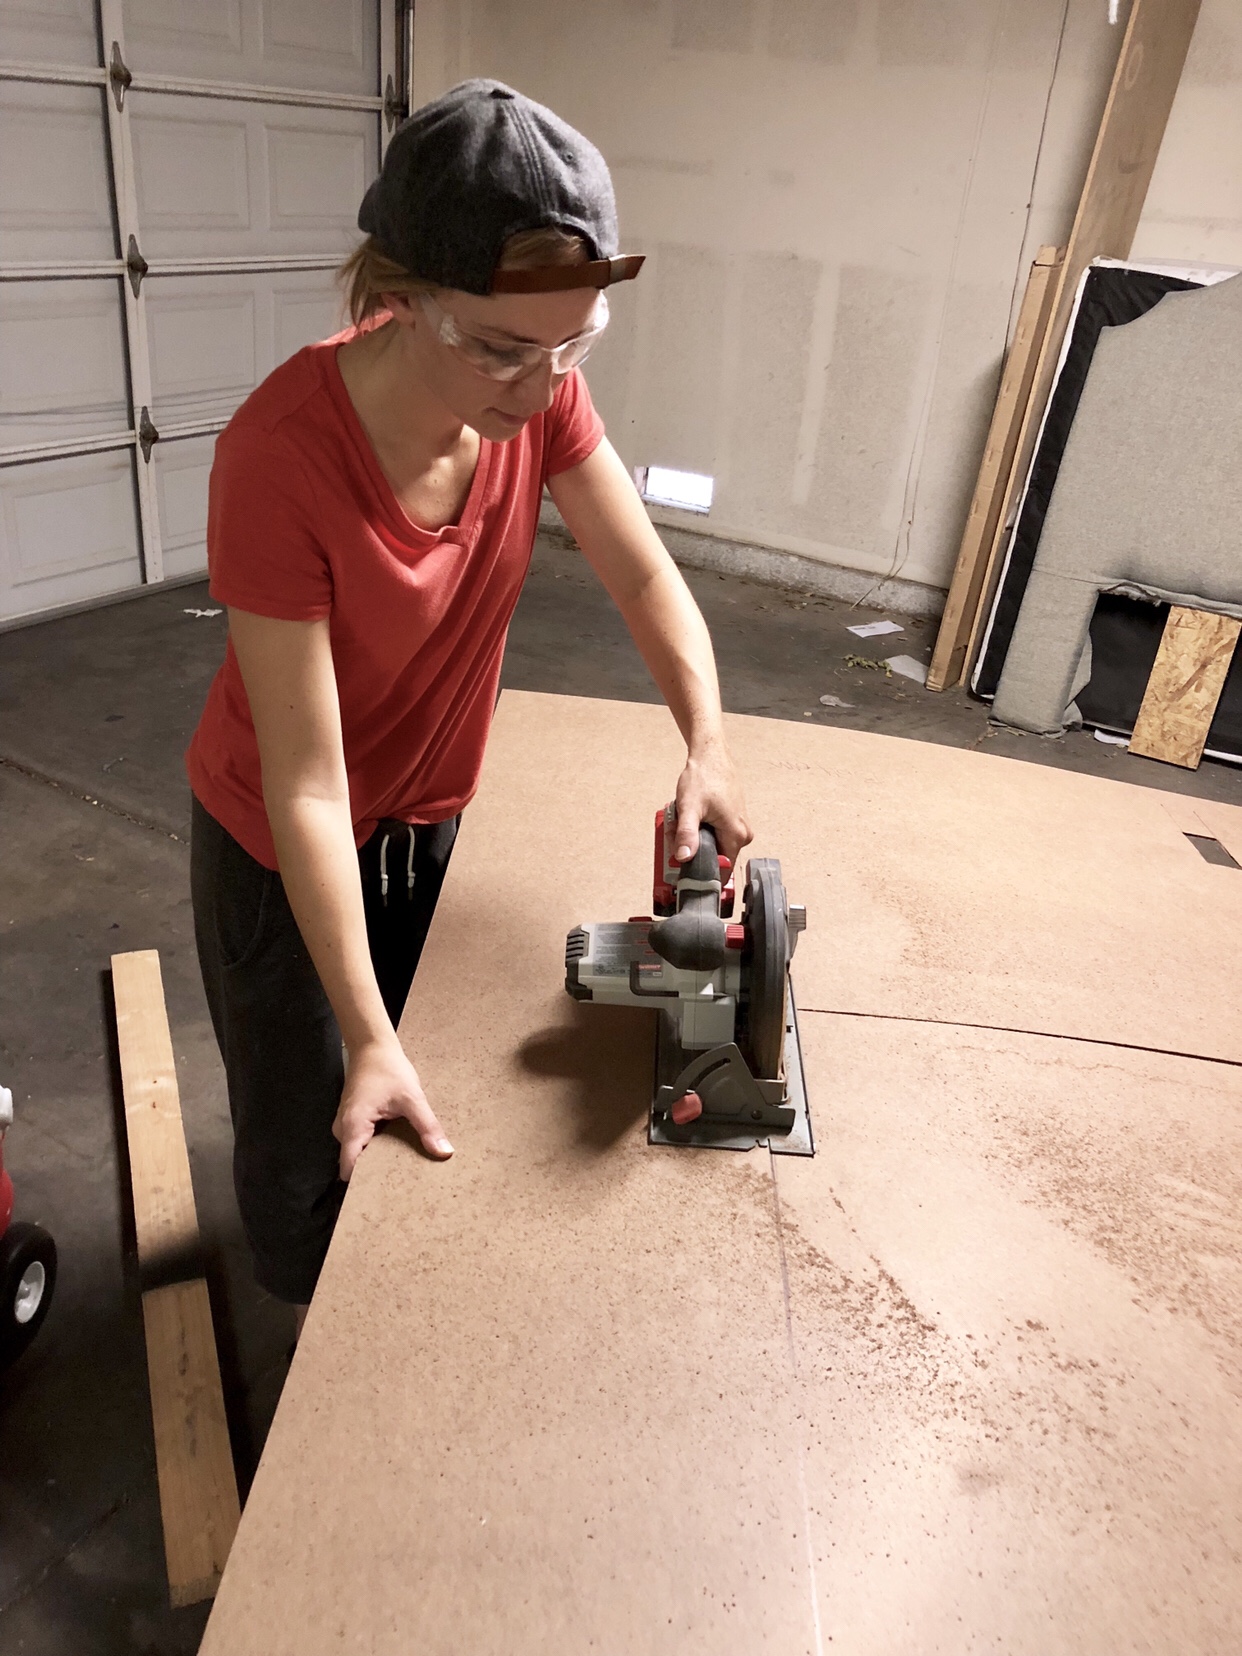
STEP 2: NOW you can go and buy your materials! Have Home Depot/Lowes cut the large backer board, but leave the trim pieces for home with your saw because you will want them to be exact (and every space is slightly different).
****If you have smooth walls, SKIP TO STEP 5*****
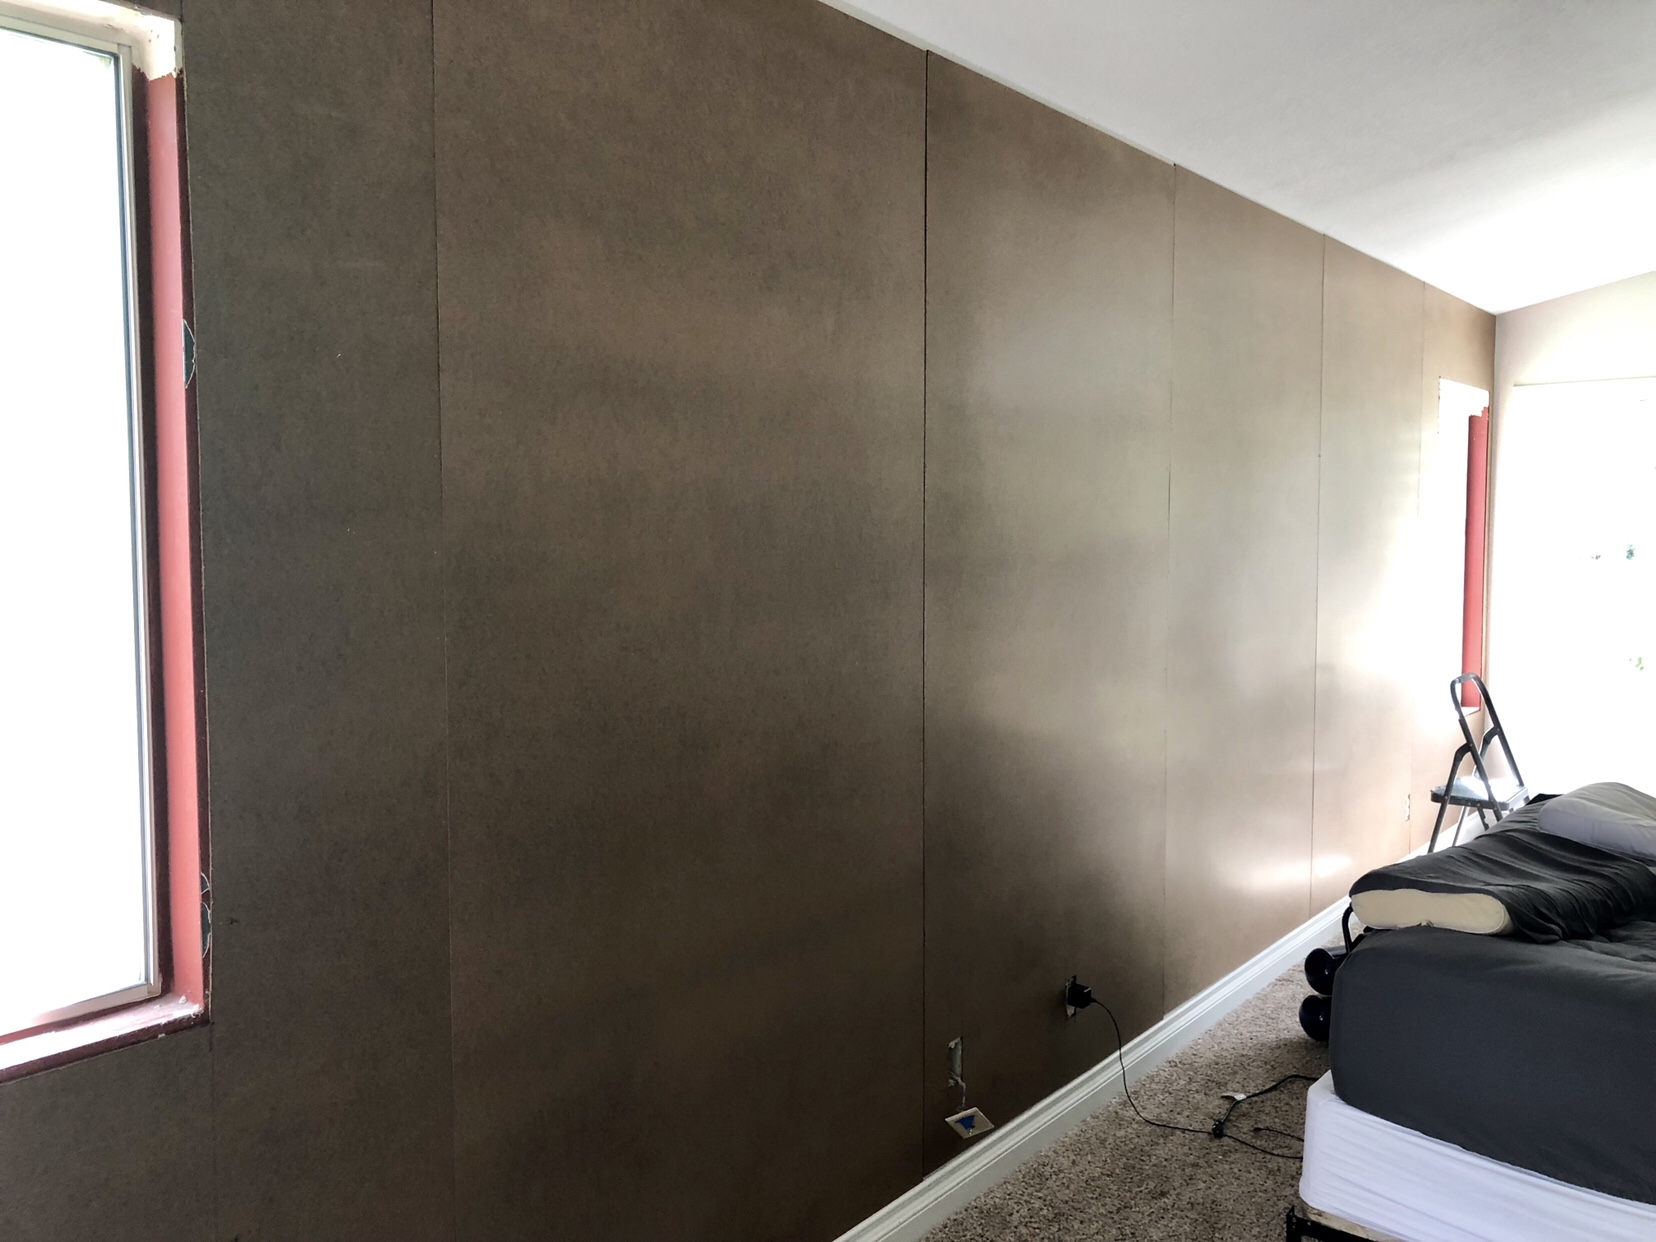
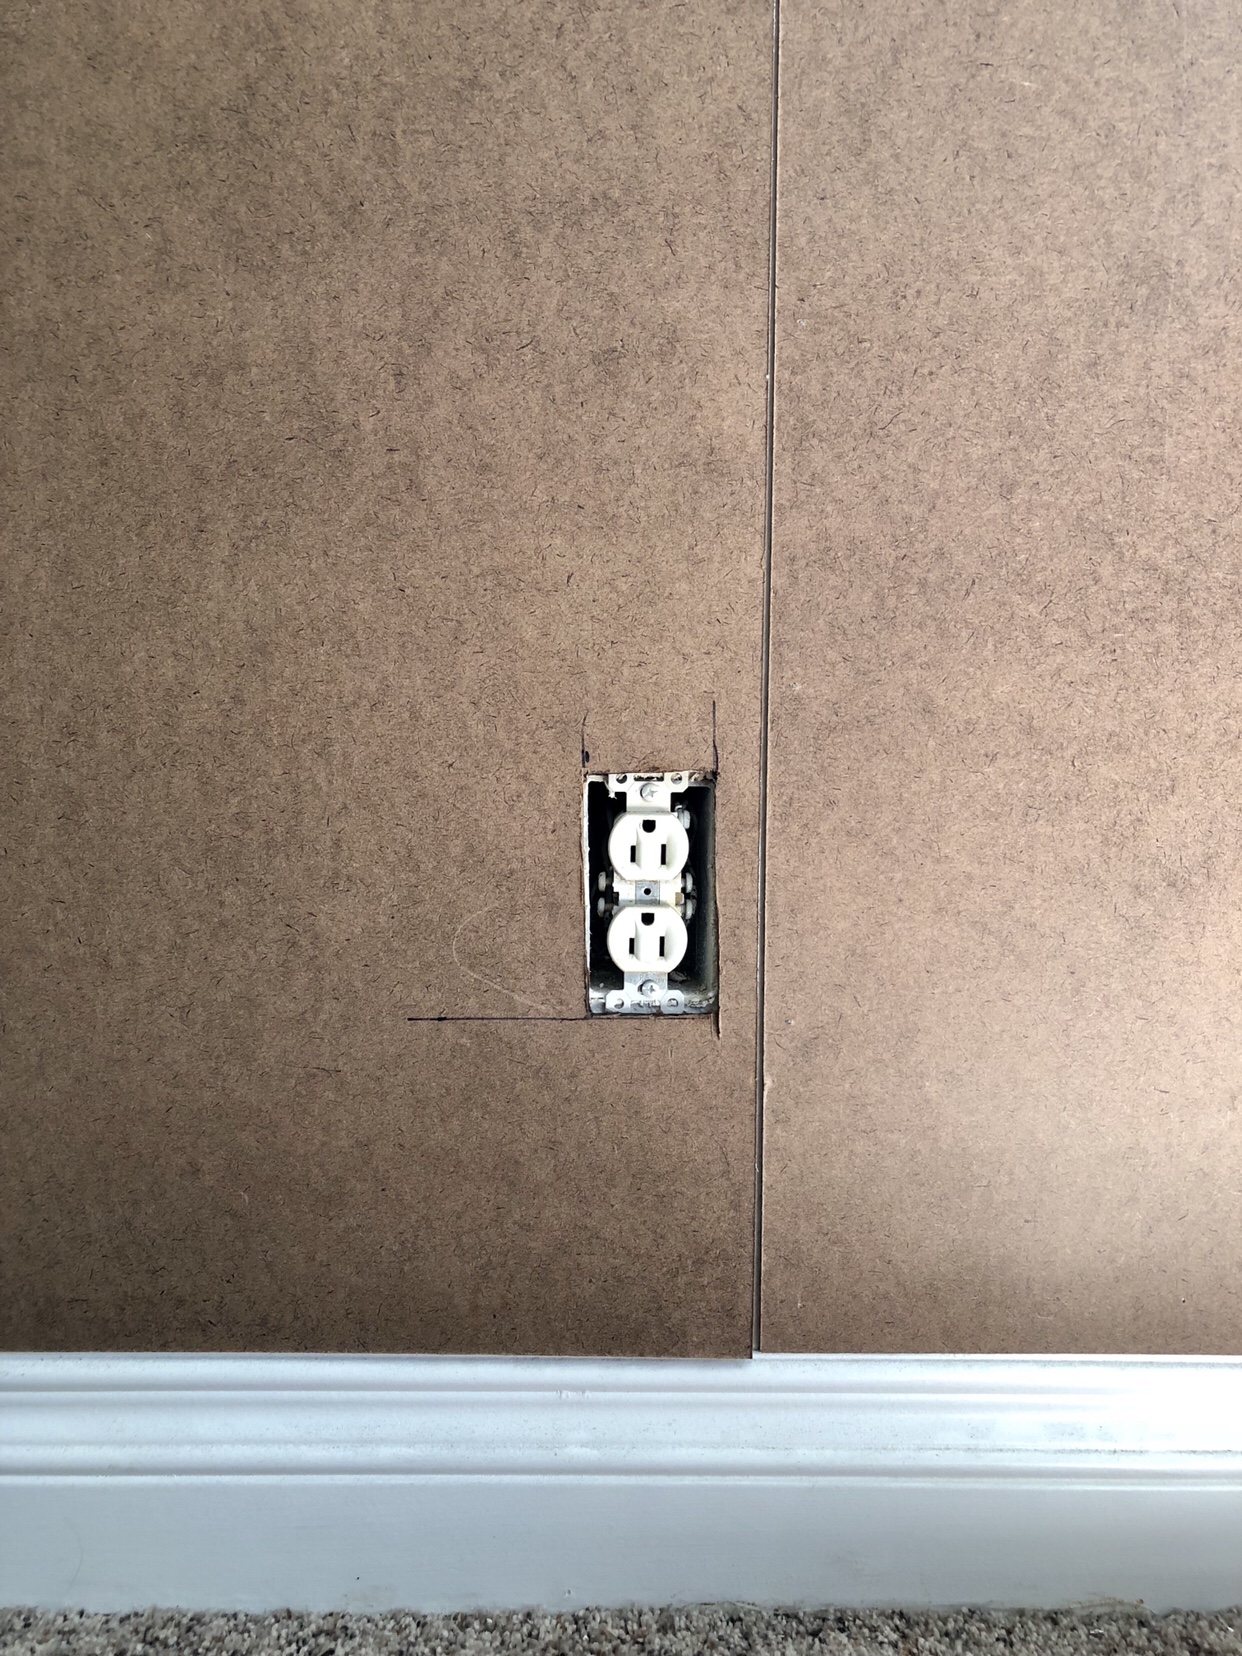
STEP 3:Cut the window and outlet holes on your backer board. I measured where the cuts should be, drew it on my board, and then used a circular saw to cut the window holes. For the outlet holes, drill a hole with a drill bit into the corner and then use your jigsaw to cut it out (you can also use jigsaw for window too).
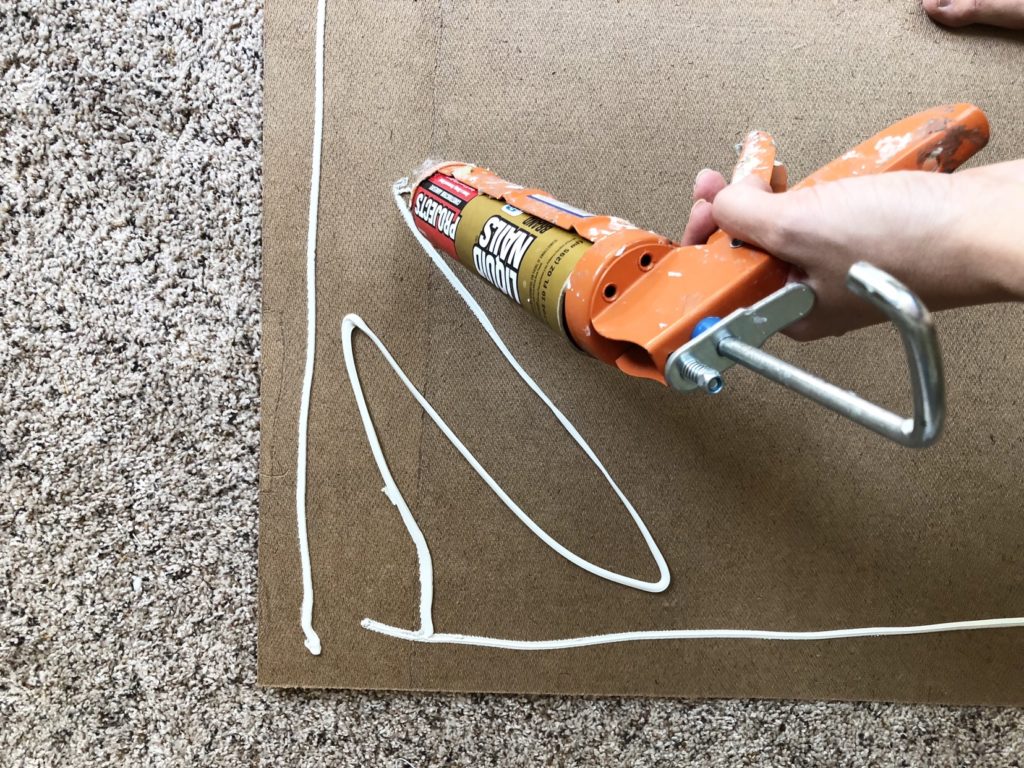
STEP 4: Put liquid nails on backer board, place on wall, and nail on outside edges (so that nails will be hidden by the batten trim pieces).
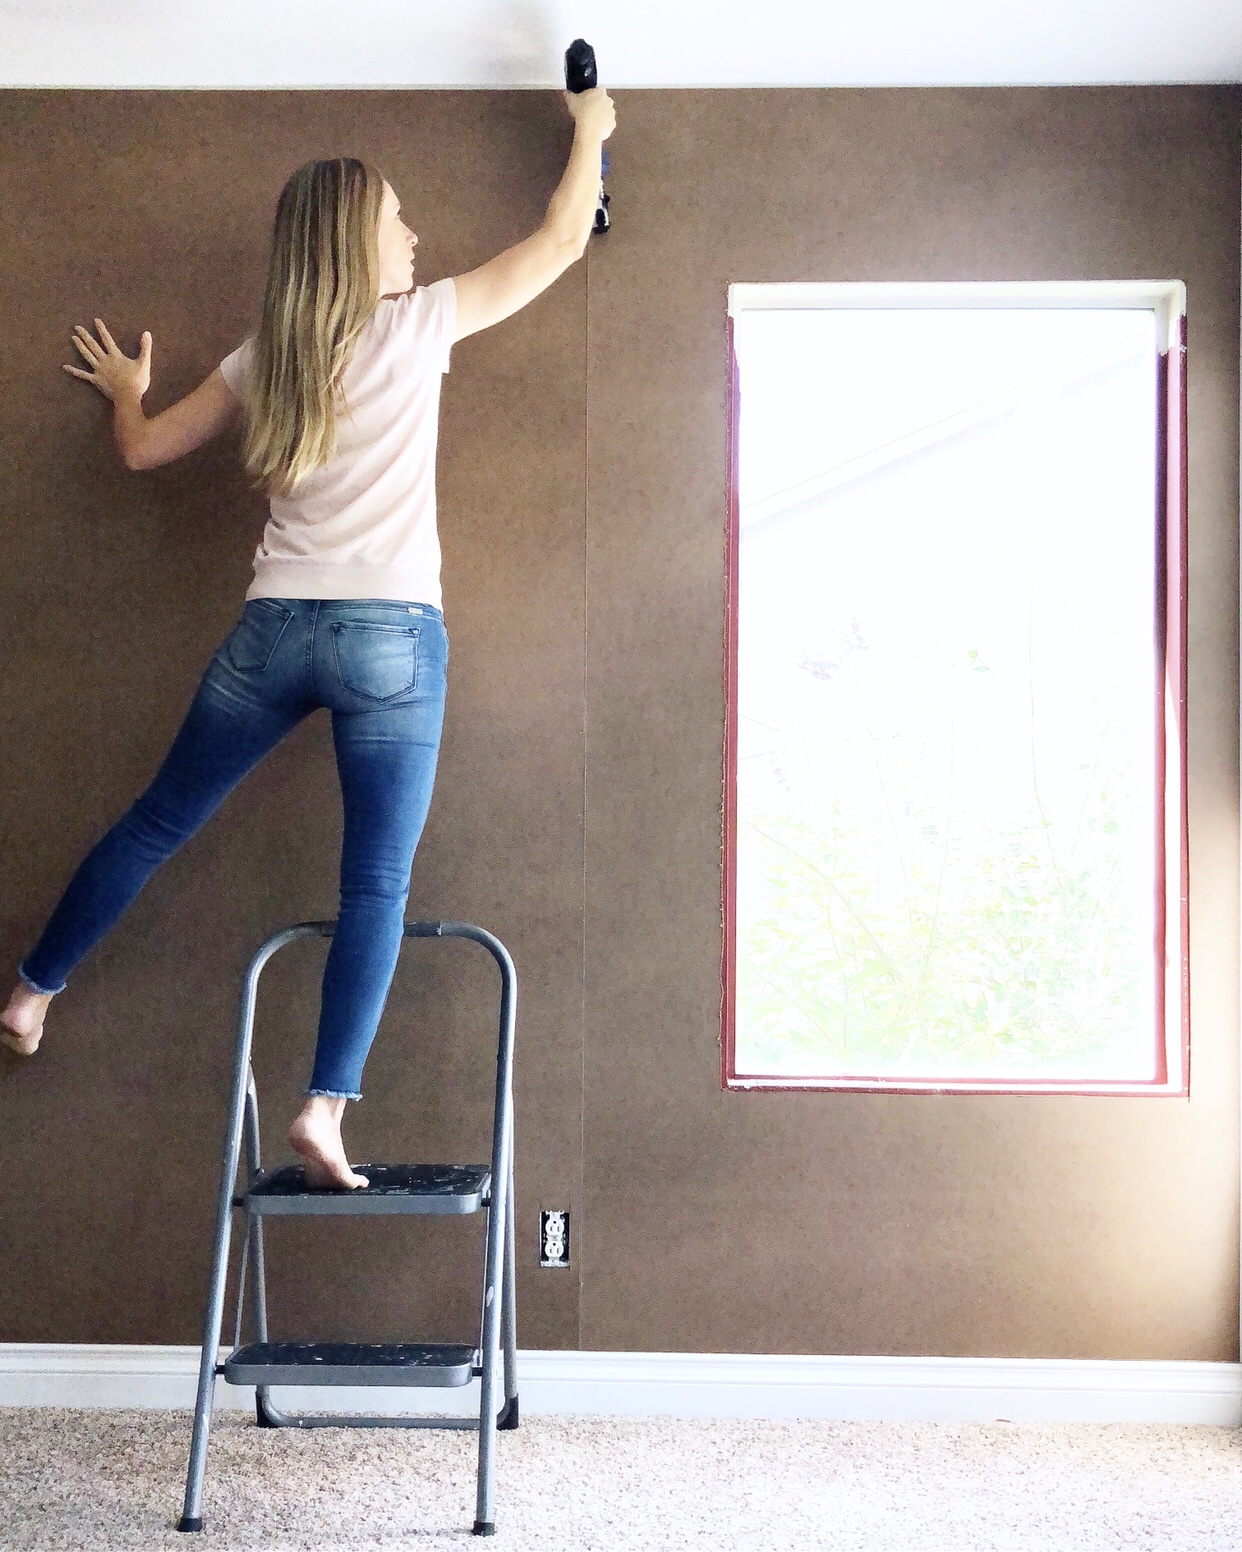
STEP 5: Now it’s time to add the trim batten pieces! Start with the whole wall framing trim pieces on the very top, then bottom, then left and right. Make sure they are level, and attach with liquid nails and finishing nails.
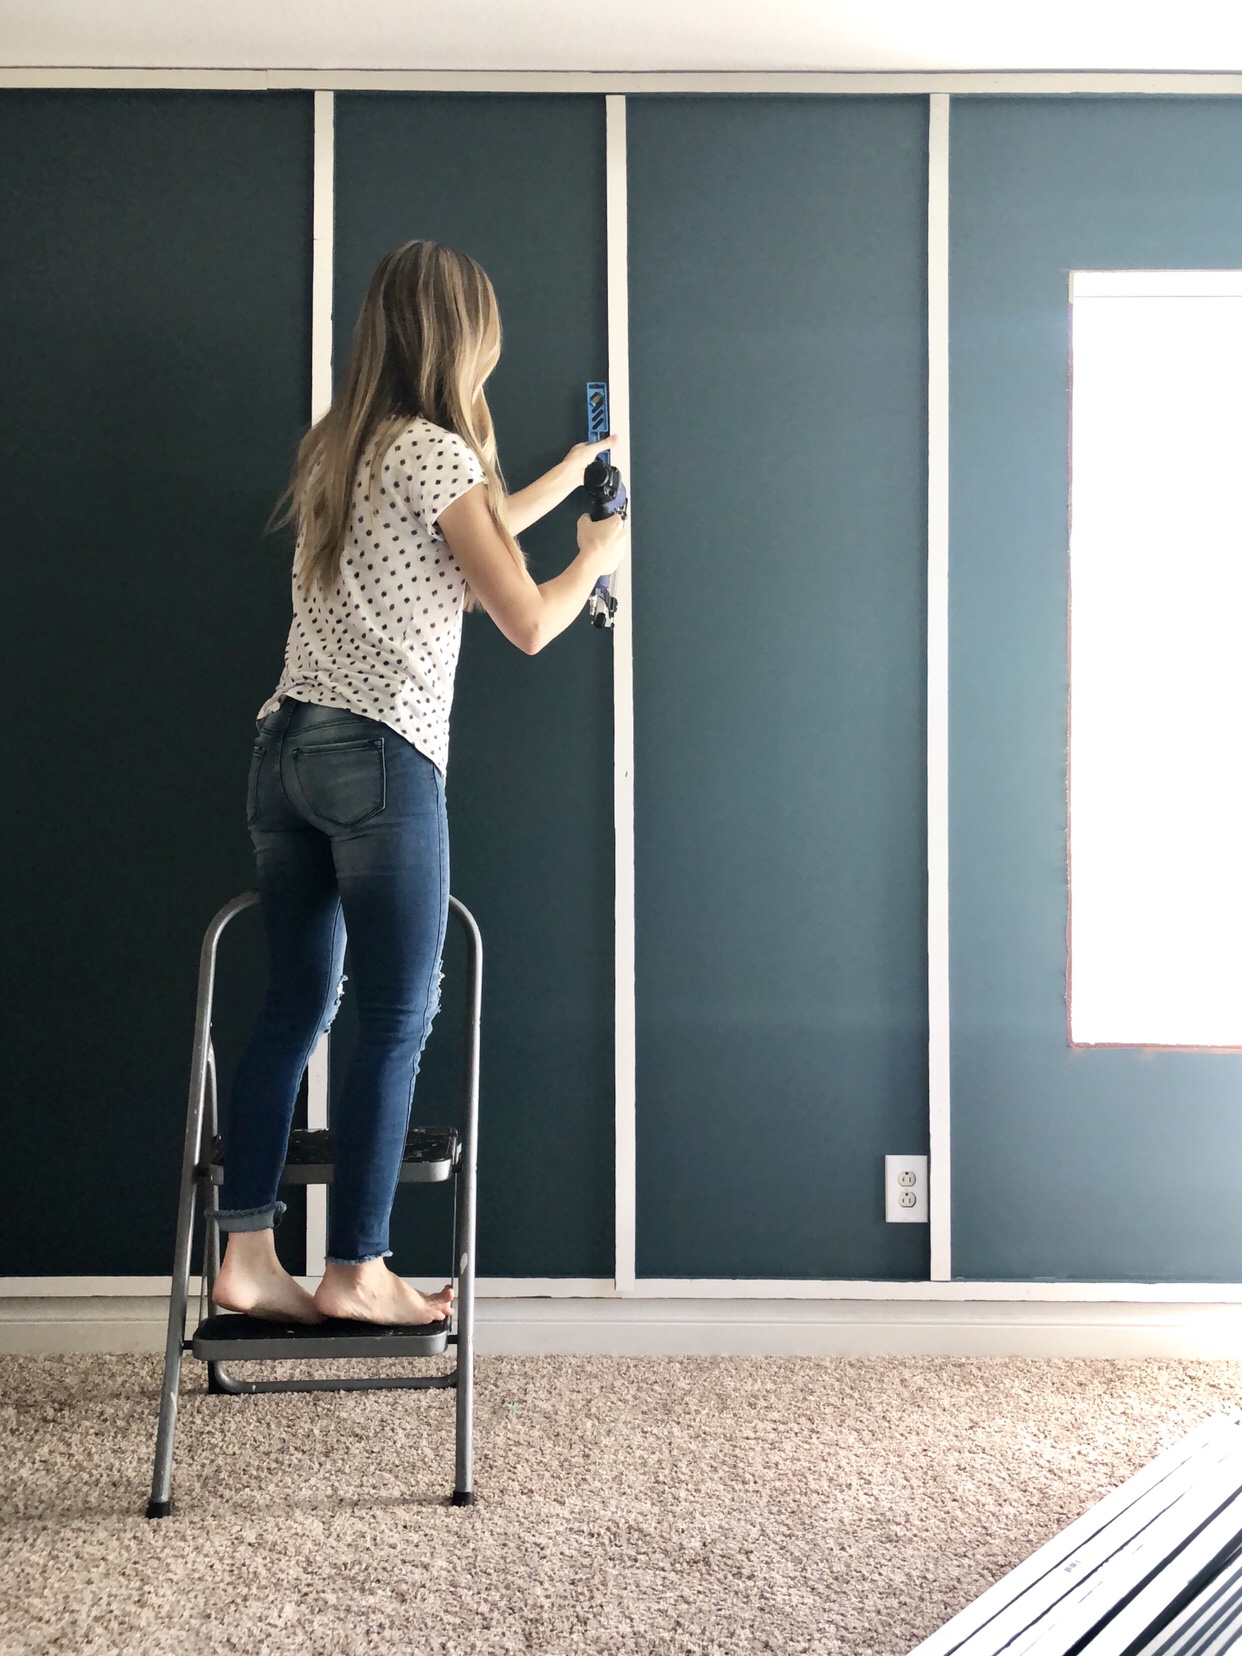
Next you will do your vertical batten trim pieces. I found it easiest to get even spacing by measuring and marking on the top trim pieces where our vertical boards should go. You also can cut a board to your desired spacing, and use it as a spacer between vertical boards to get even spacing. Helpful tip: if you are doing this by yourself, put one nail in the middle, make sure it’s level, and then nail up and down the board. Another helpful tip: only cut one board at a time to get the cut exact. The spacing will all be slightly different since ceilings and floors are not perfectly level.
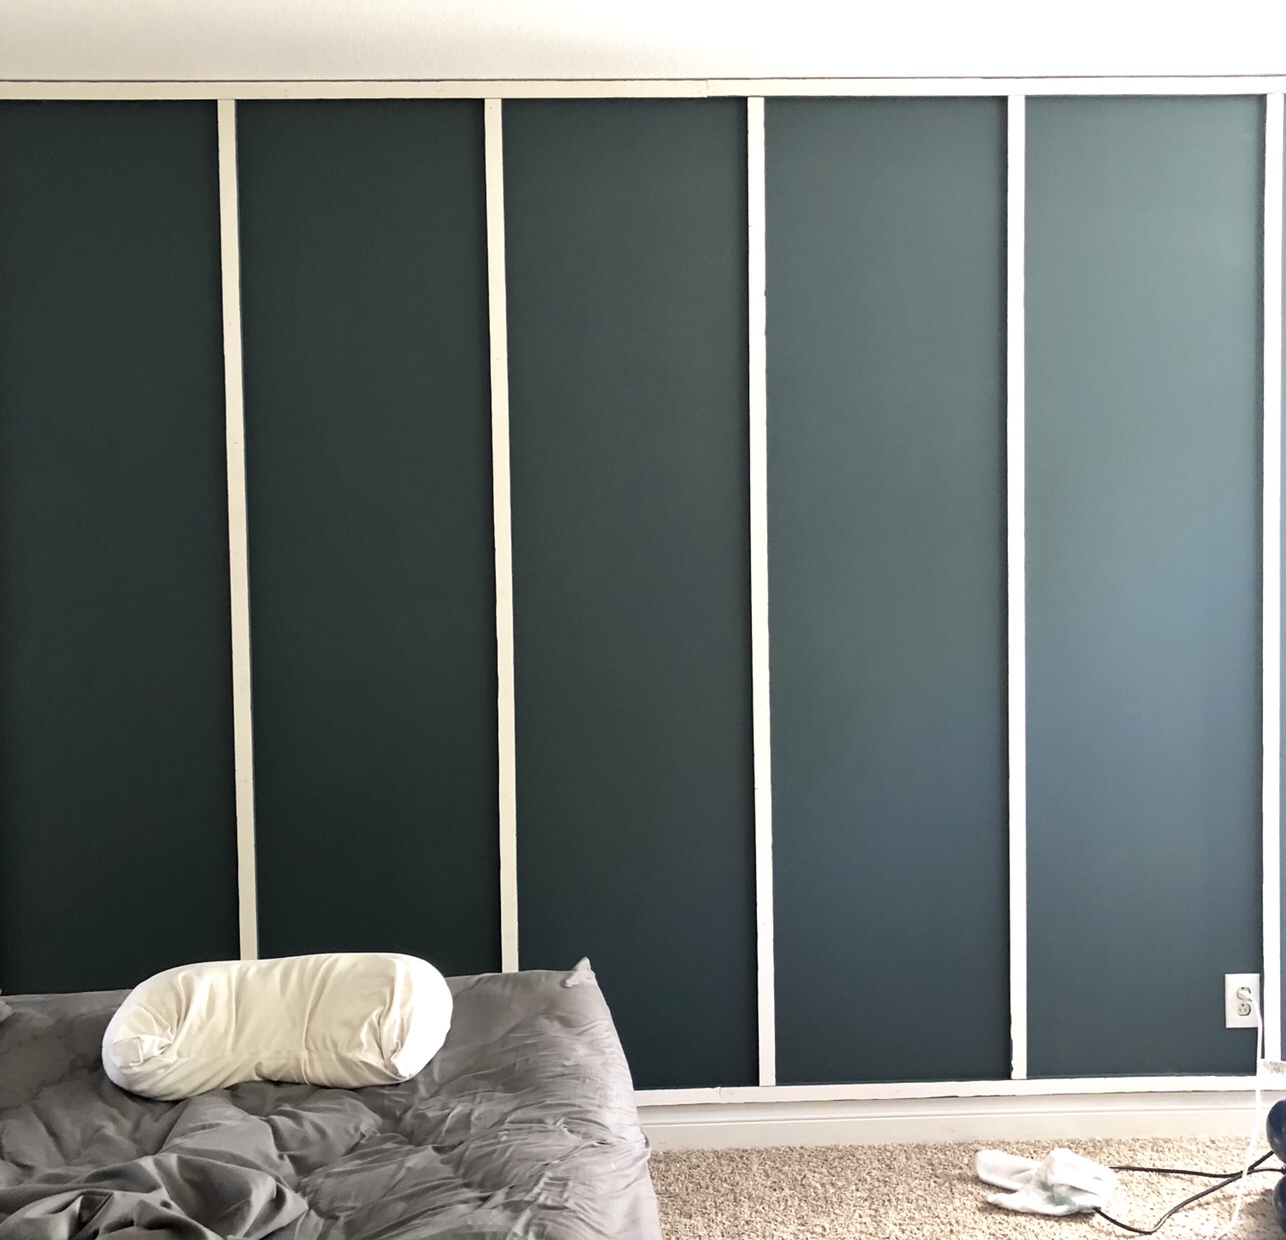
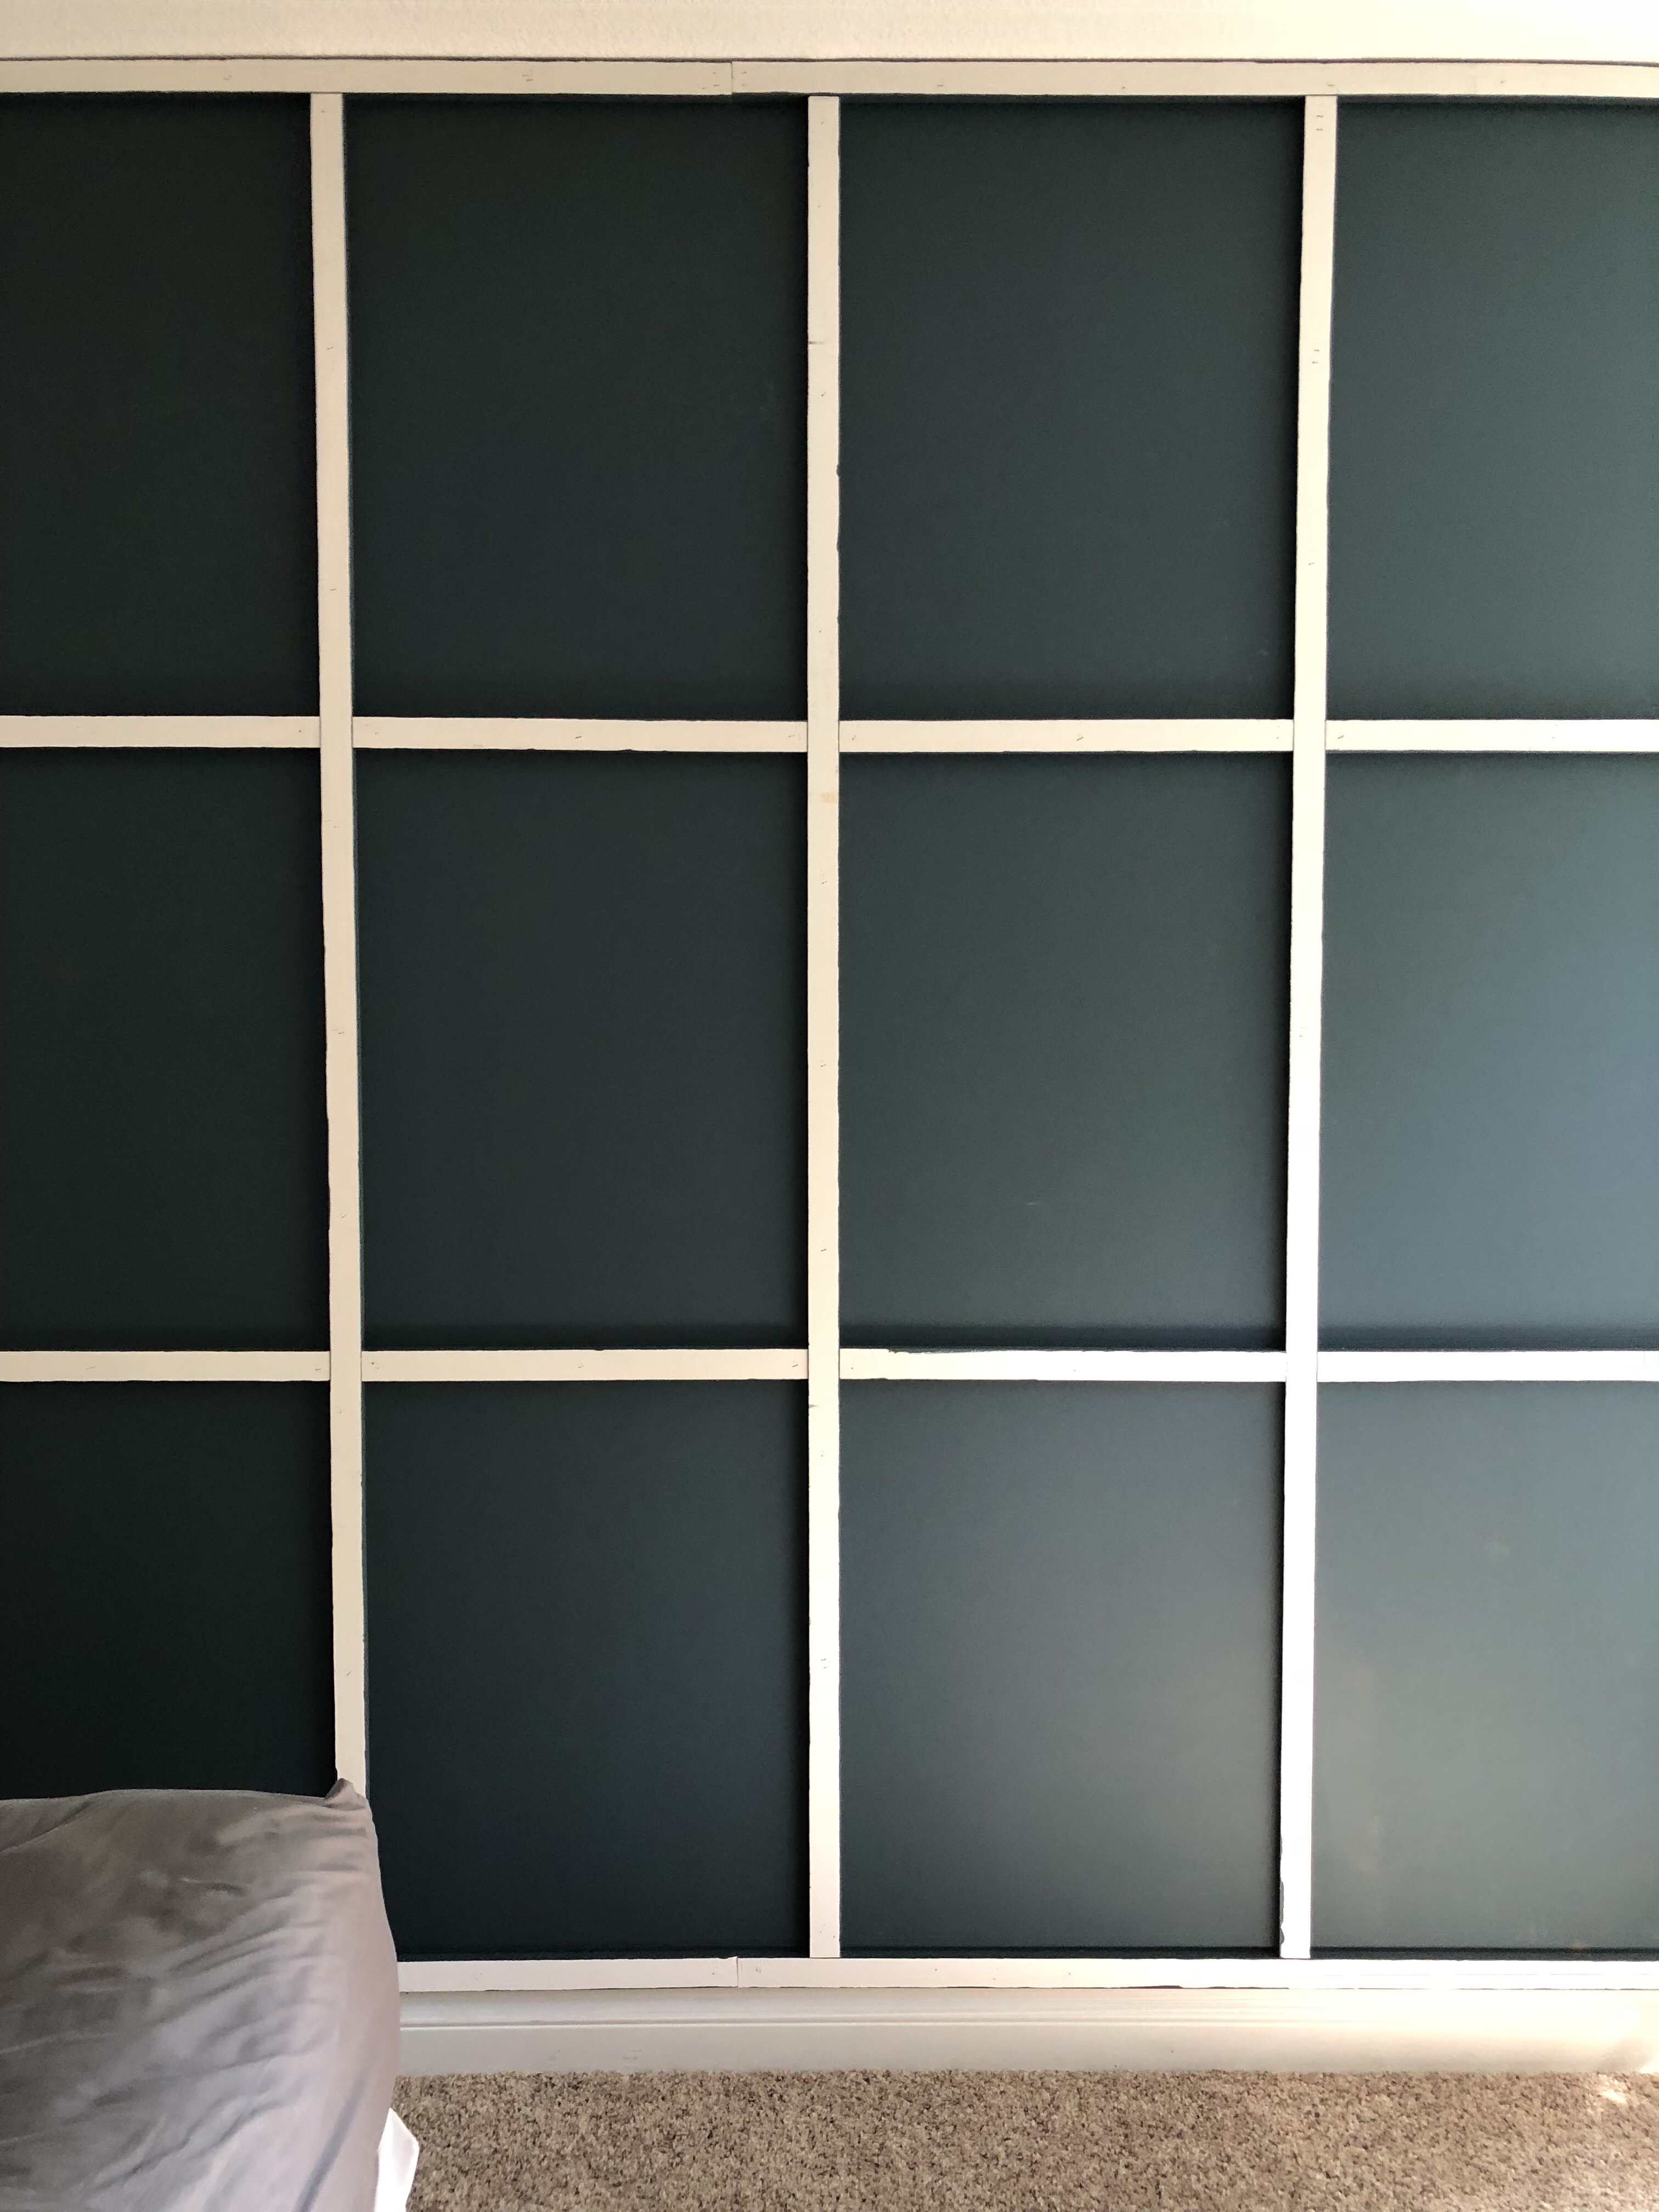
Next, you add the horizontal batten trim pieces. Mark on the wall where they should go, and make sure they are level. Occasionally, measure from the floor and step back to make sure it’s not gradually creeping up or down. Cut these one at a time to get as close of a fit as possible. (A laser level would be very helpful here, but I didn’t have one!)
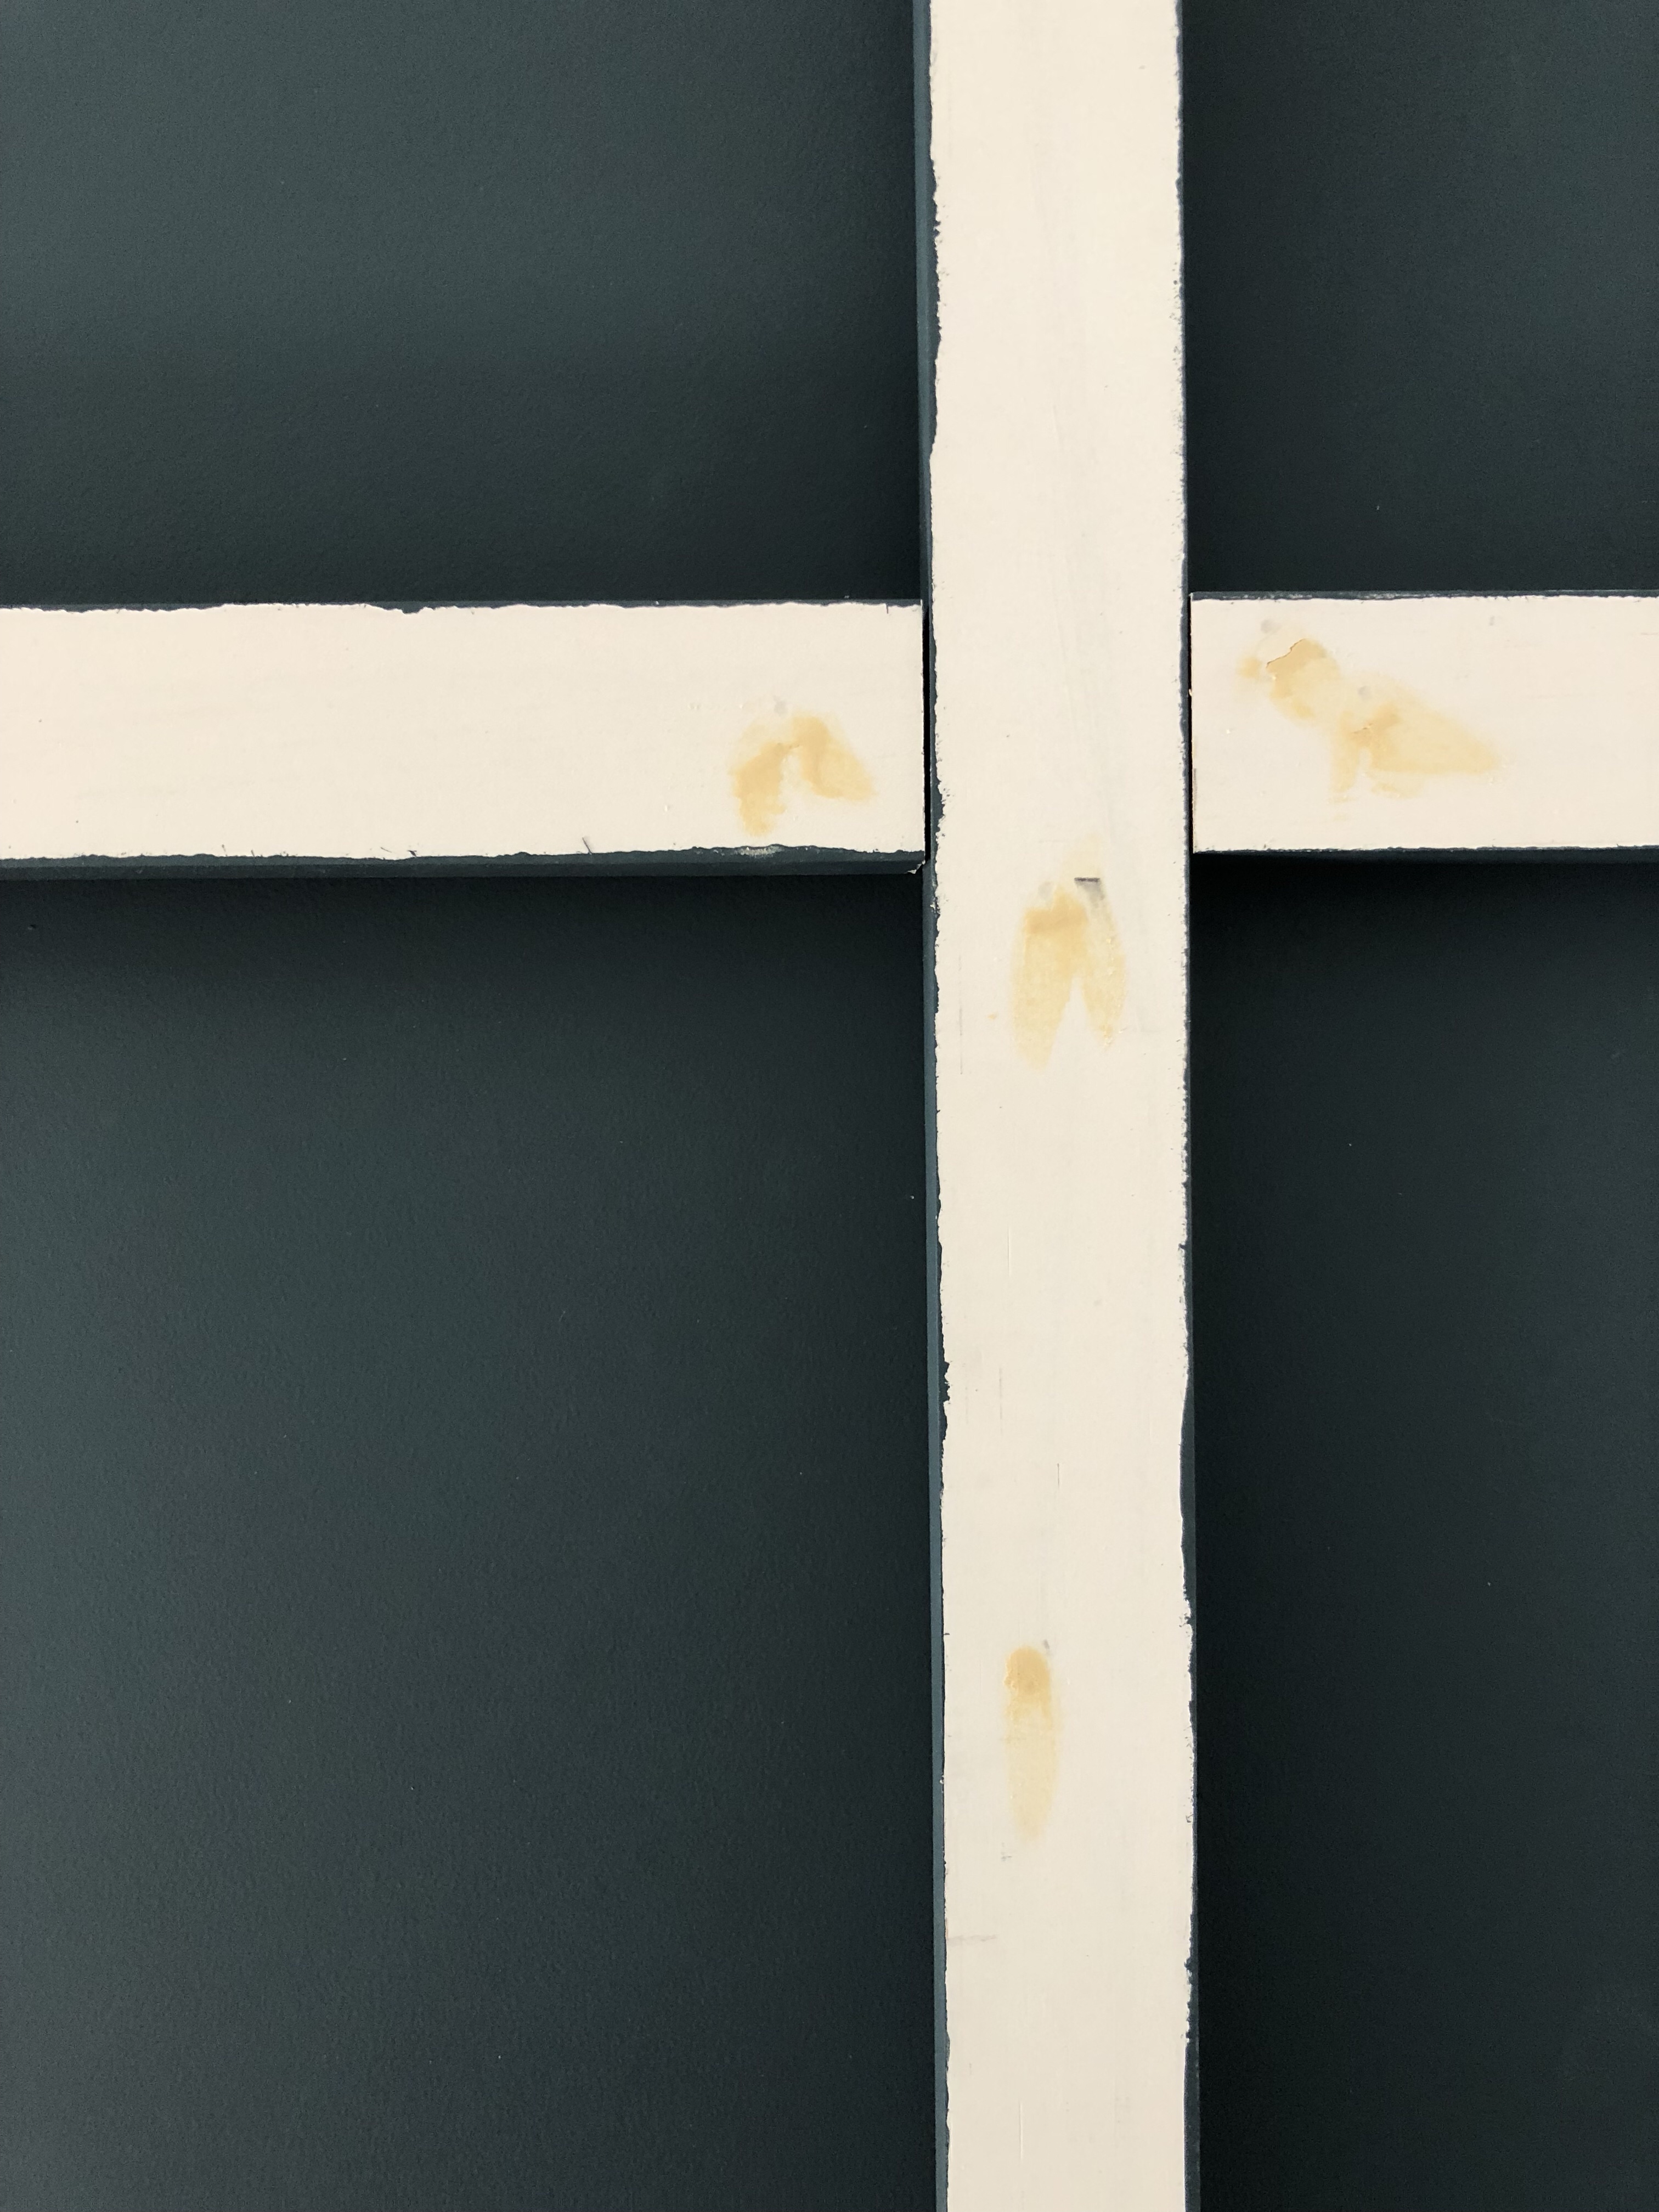
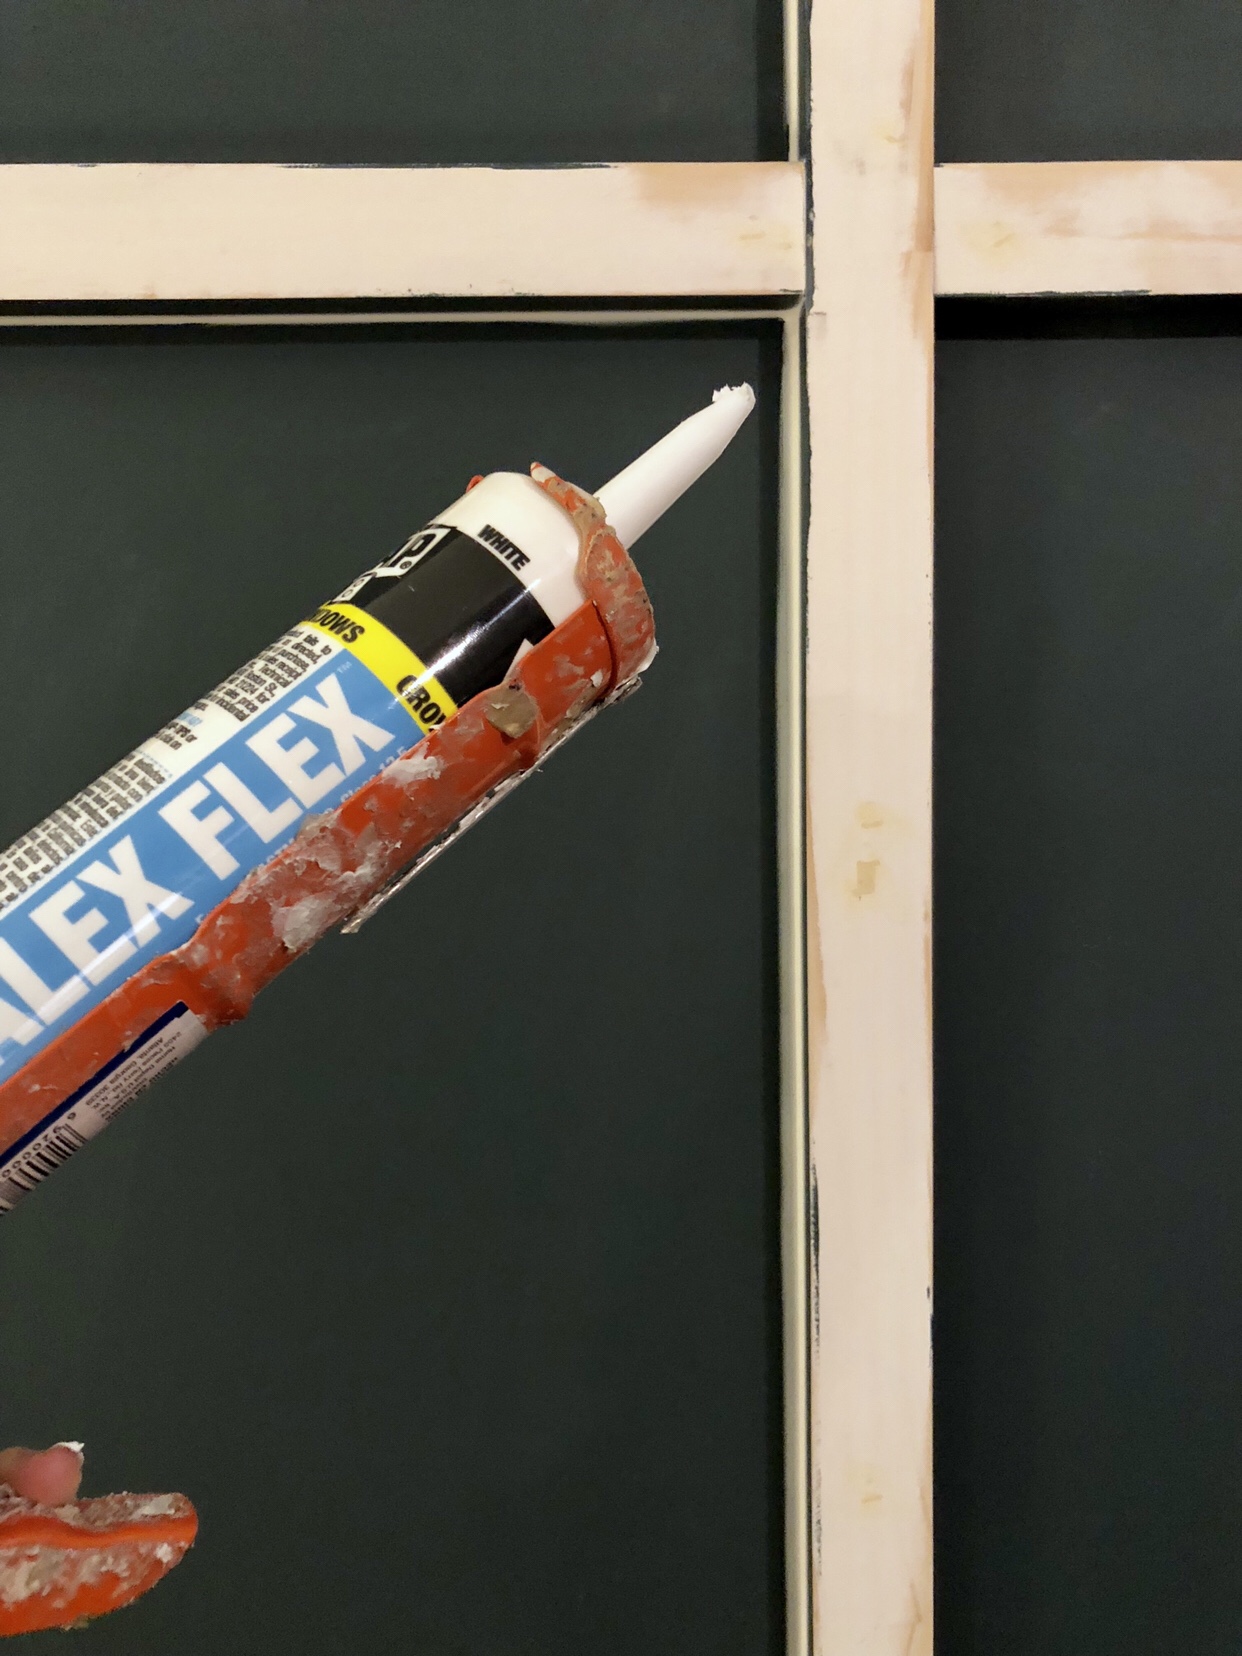
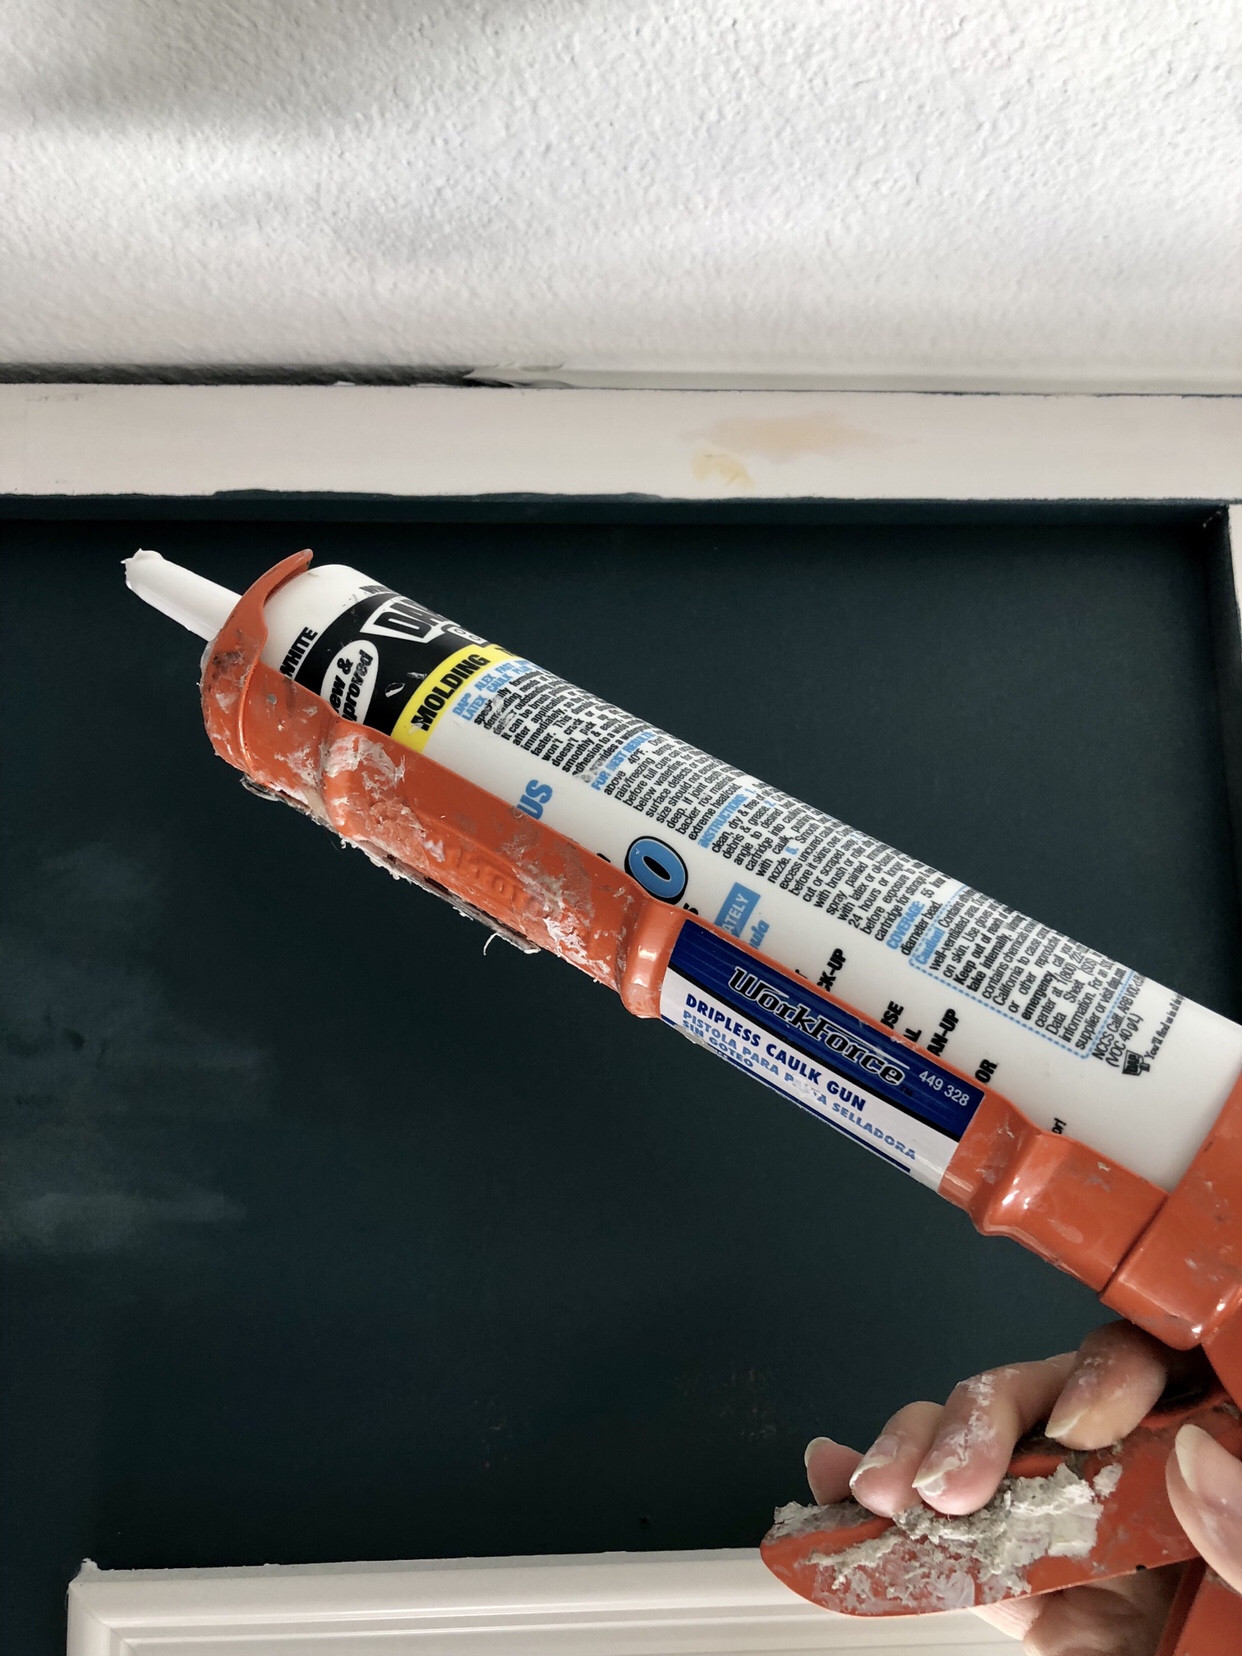
STEP 6: Fill all nail holes with wood filler, sand smooth, and caulk all edges and seems. This is the step that makes all the difference! If you want your space to look professional, don’t skip this step. To caulk seams, run a small bead of caulk where the trim pieces meet the wall, smooth down with your finger. Helpful tip: keep a very wet rag on your belt and wipe finger clean between each swipe.
STEP 7: Tape off walls in preparation for painting. I used this coolest tape with plastic already attached to it.
STEP 8: You’re ready for painting! You can definitely roller the wall, but I wanted the smoothest finish possible, so I used this paint sprayer. The wall turned out so smooth, and I was very happy with the sprayer. With a smooth wall it very easily shows imperfections, so this sprayer solved all of my problems and gave me a professional look. (This sprayer doesn’t need to be watered down and has very little overspray. I just grabbed a bunch of cheap plastic drop cloths to cover nearby furniture, and put up my tape/plastic around the edges of my accent wall.) *priming first is always a good idea! I used Benjamin Moore Newburg Green.
AND YOUR WALL IS DONE! It’s awesome right? I’m so proud of you! You should be proud too! Now send me a pic on Instagram @angelarosehome