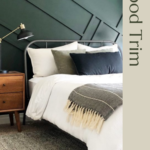
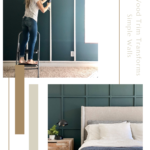
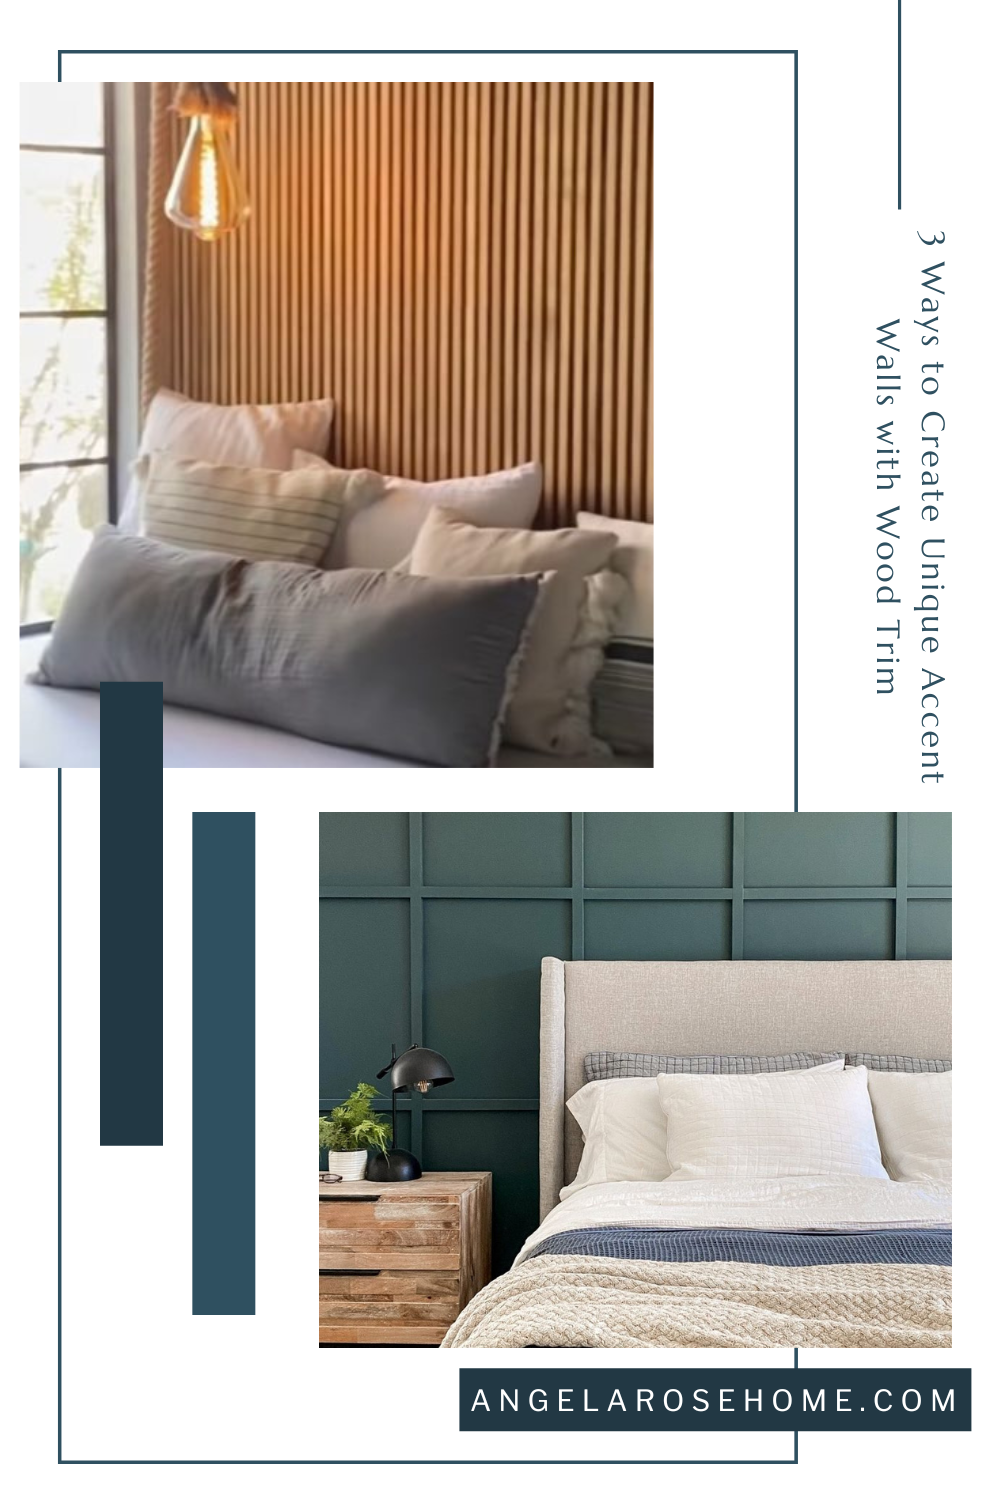
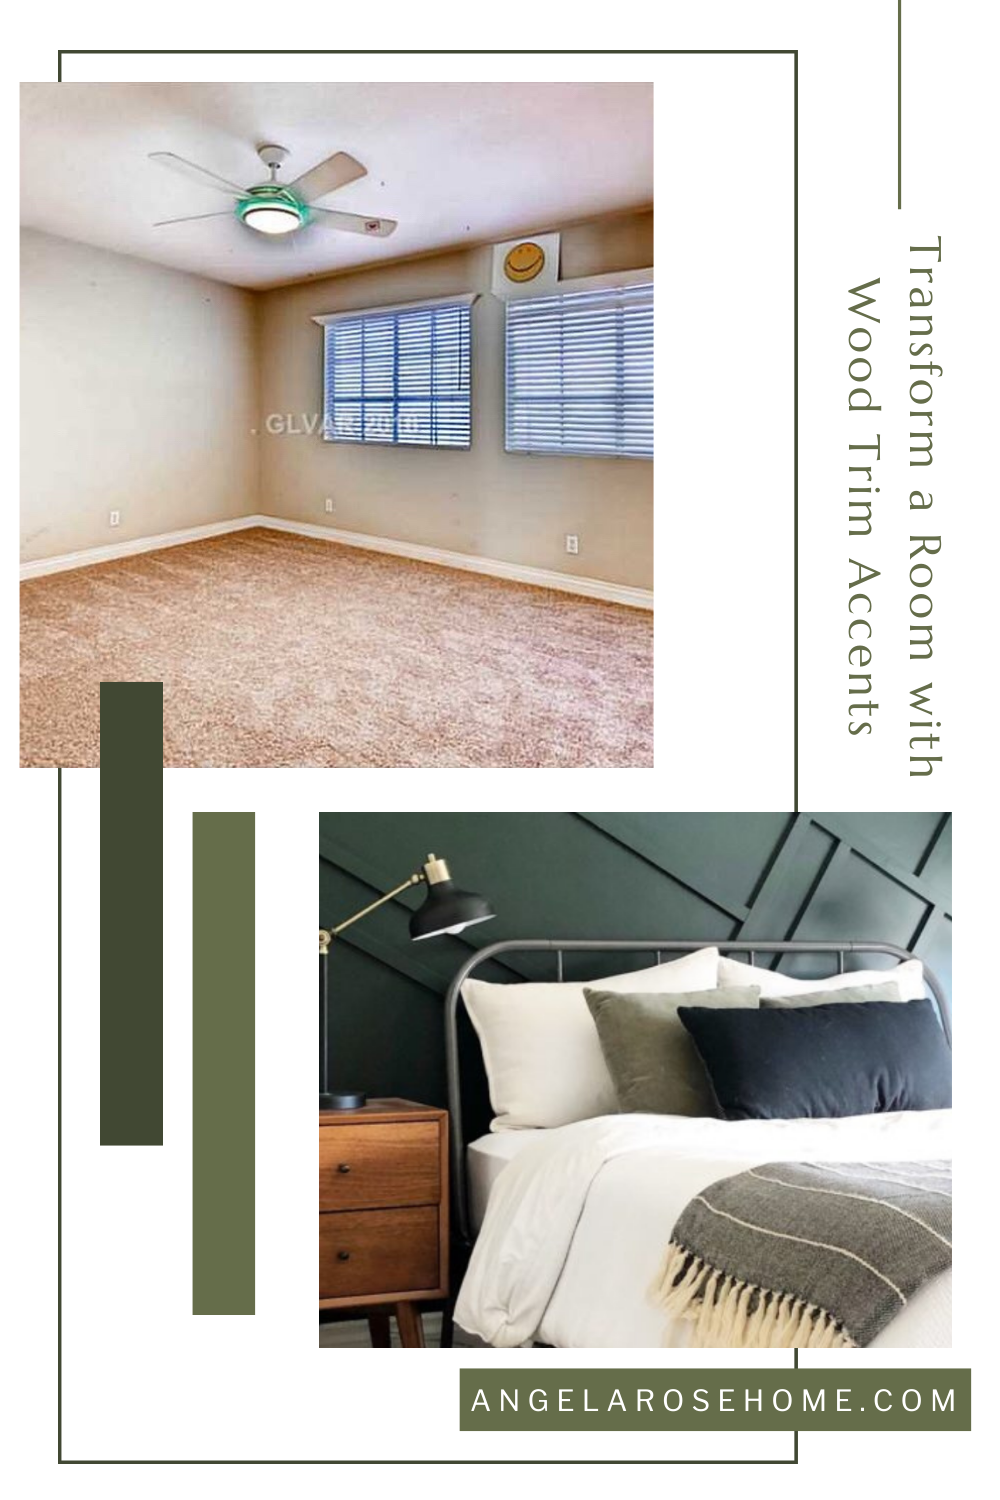
Refreshing your walls is a great idea if you are looking to make a statement. Or, even if you aren’t looking to make a statement, refreshing your walls is a great option for creating some change in your space. There are so many techniques and textures to choose from: paint, skim coating, wallpaper, etc. But, I have to say that creating a wood-trimmed accent wall is my favorite way to refresh a wall. There is just something about working with wood that gives me life. That’s why I want to share 3 ways to make unique accent walls with wood trim so that you can breathe some new life into your space.
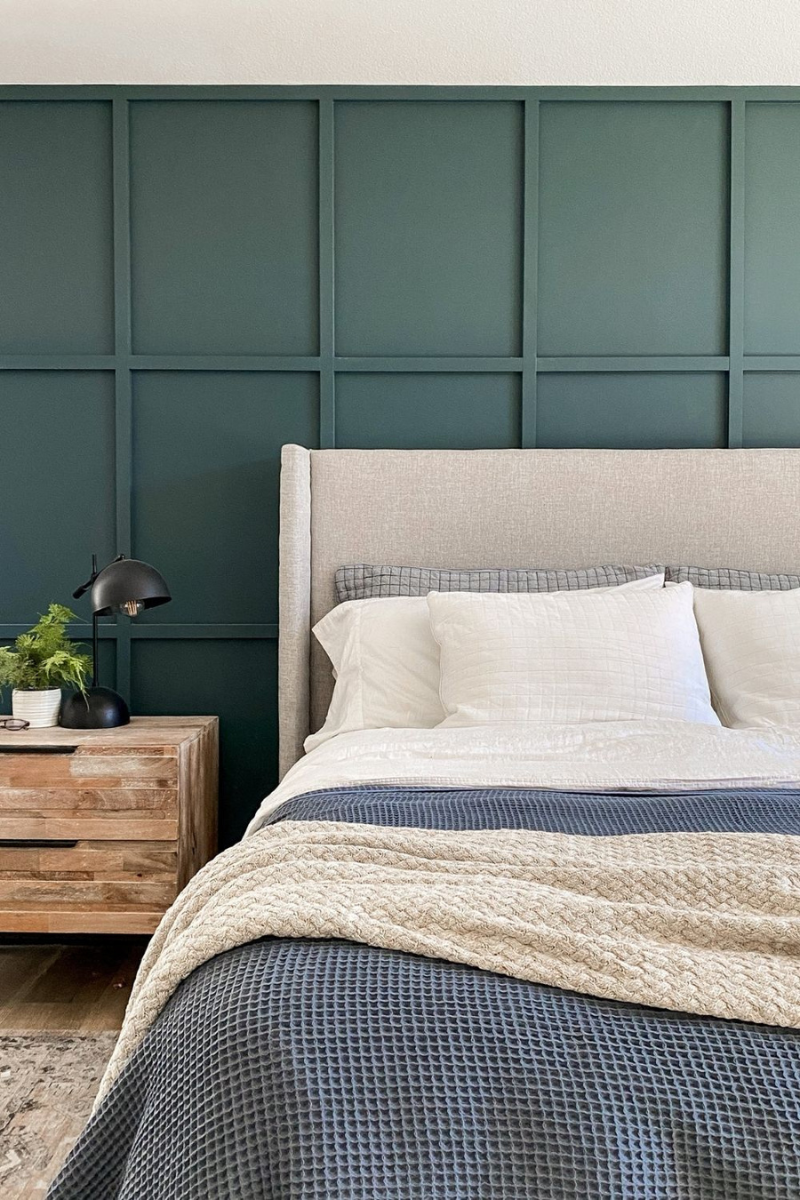
No. 1 Board and Batten Accent Wall with Wood Trim
Have you heard of board and batten yet? It is becoming more and more popular with DIYers, but this style has actually been around since the 1800s. So while it is trendy now, it is actually a very old technique/style. It all started in Europe as people were building their own homes and making them weatherproof. Originally a small strip of wood (traditionally about 2 or 3 inches wide) would then be nailed over the crack or seam of siding to make it weather tight. The small wood strip was called a batten, thus the name board and batten.
Since it has been around for years, why would I say it’s unique? Well, board and batten can be customized to your specific taste or the needs of your room. You could use this technique throughout your home and every room would look all its own.
Now, board and batten pretty much means putting wood/MDF strips on your wall in a pattern or design. I love it because is an affordable way to give a space character, add a focal point, and elevate your space.
Here’s What You Need to Create your Own Board and Batten Accent Wall:
- Wood/MDF in the width you want for the batten
- (if your walls have texture) Backer board to make walls smooth or you could skim coat the wall depending on how big it is
- Nails/nail gun
- Liquid nails
- Wood filler
- Sander/sandpaper
- Paintable caulk
- OPTIONAL: Paint sprayer (makes the finish on the wall so smooth!)
- OPTIONAL: Painting prep tape
Step 1: Smooth Your Walls
If you are going to be upgrading your space, I would suggest using a backer board to create a smooth surface behind your board and batten design. But, if you are looking to elevate a smaller space (think hallway or bathroom) you could also try skim coating. When I added board and batten to my master bedroom I decided the wall would take too long to skim coat so I added a backer board. For that project, it was the right way to go!
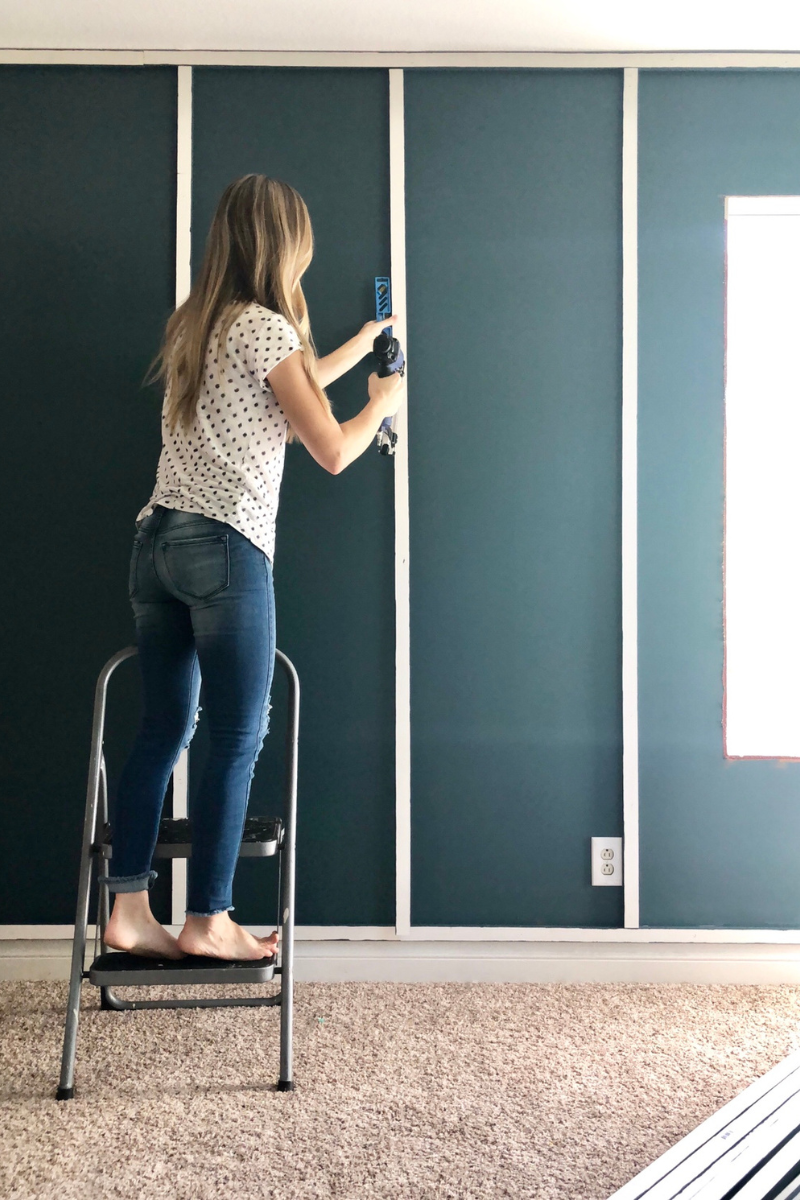
Step 2: Layout Your Plan
You need to draw out your wall and measure out where your batten trim boards will go. If you used a backer board to smooth walls, you will want to cover your seams with the trim pieces. There is a great website that can help you calculate where your board should go! It is a game-changer. I get a lot of questions about the spacing on my board and batten accent wall. I wanted to make sure there weren’t any weird squares so I took the total square footage of the wall and divided it equally. Either way you decide to lay out your plan will be great. Here are a few things that will be helpful to keep in mind:
- Keep your spacing between batten boards the same
- Don’t forget trim pieces on the outside of your walls to frame out the space
- Remember the REAL dimensions of a 1x2in board is actually 3/4 x 1.5 in, a 1×3 is 3/4 x 2.5 in….
Step 3: Adding Trim
Start by using your trim pieces to frame your wall. Make sure everything is level and then attach the trim with liquids nails and finishing nails. Once your frame is created, you will attach your vertical batten trim pieces. I’ve found the easiest way to get even spacing is by measuring and marking on the top trim pieces where our vertical boards should go. You also can cut a board to use as a spacer between vertical boards to get everything lined up just right. Leftover scraps from other projects are really great for that!
Last, you add the horizontal batten trim pieces. I can’t say it enough, when you are doing a project like this, make sure everything is level as you go. Laser levels are great for this. I didn’t have one so I just measured from the floor and occasionally stepped back to make sure the design wasn’t gradually creeping up or down.
Step 4: Finishings
To make your wood-trimmed accent wall look really professional, make sure to fill all the nail holes, sand smooth, and caulk all the edges and seams. Then you can tape off your walls in preparation for painting. I’ve found that rolling the wall works, but using a paint sprayer gives the smoothest finish. Check out my full tutorial HERE.
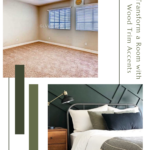
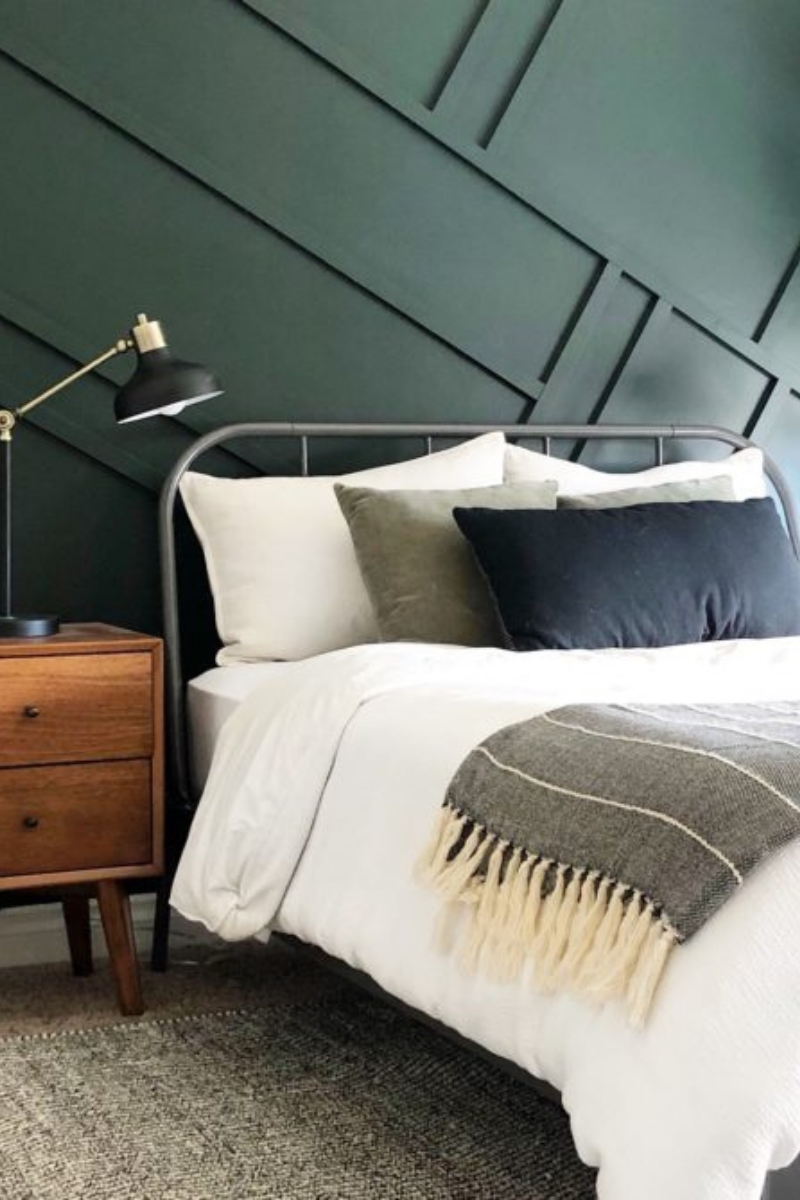
No. 2 Angled Accent Wall with Wood Trim
Board and Batten sounds pretty easy, right? Well, hold on to your tools, because the angled accent wall I created for my son’s room was even easier! What makes this Wood Trim Accent Wall different is that I used a combination of 60-degree and 30-degree angles when most accent walls typically use 45degrees. I know I said this wall technique is easy, but I can’t keep things too easy, right? I knew that I just had to have steeper angles.
Tell me… do you love it? or do you LOVE it? In my opinion, it was worth the few extra steps. Especially when the project got a ton of attention online and actually went viral. Enough about me, let’s get you ready to make your own angled accent wall.
Here’s What You Need to Create Your Own Angled Accent Wall:
- MDF
- Nail gun
- Paintable caulk
- Square layout tool
- Wood filler
- Miter saw
- Sander/sandpaper
- OPTIONAL: Paint sprayer (makes the finish on the wall so smooth!)
- OPTIONAL: Painting prep tape
Each angled accent wall has its own personality that takes shape when it’s being created. Here’s what mine looked like during the process. If we break the process down into general basics, here’s the project flow you can expect when creating your own unique wood trimmed angled accent wall:
- Map out your lines and angles on paper
- Cut your boards to your desired angles (from your design)
- Nail boards to the wall (I recommend getting a cordless nailer. It makes such a big difference)
- Fill in nail holes with wood filler and then sand
- Caulk seams (Make sure to use paintable caulk!)
- Paint
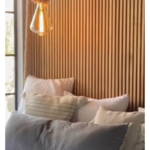
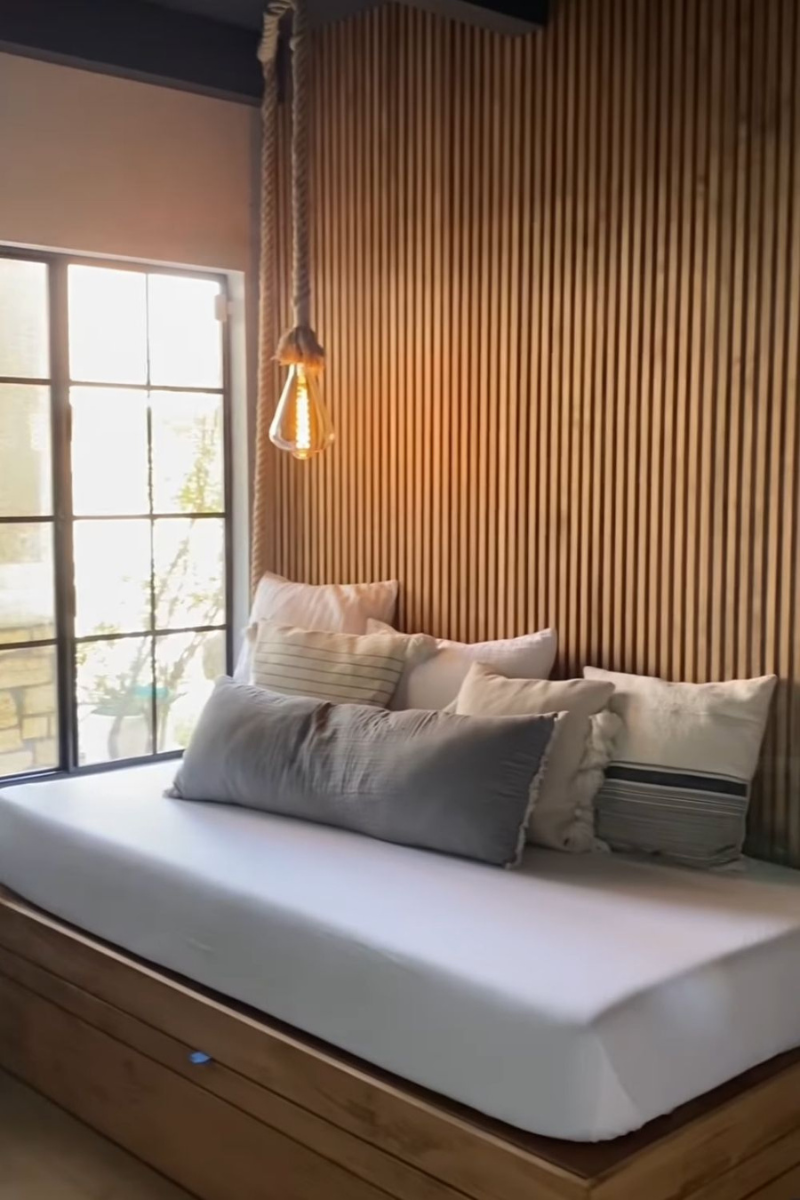
No. 3 Slat Accent Wall with Wood Trim
Although slat walls are already unique, I made a modernized slat wall in my son’s room by applying wallpaper first before installing the slats. If you were here when I was working through this project you may remember, that there were mixed opinions about adding the slat walls on top of the gorgeous wallpaper. But, I had to go with my gut and try to create my vision even though not everyone was on board.
Here’s What You Need to Create Your Own Slat Accent Wall:
- Early American stain
- Wood conditioner
- Level
- 1” x 6” select pine boards
- Brad nailer and nails
- Table saw
- Sander
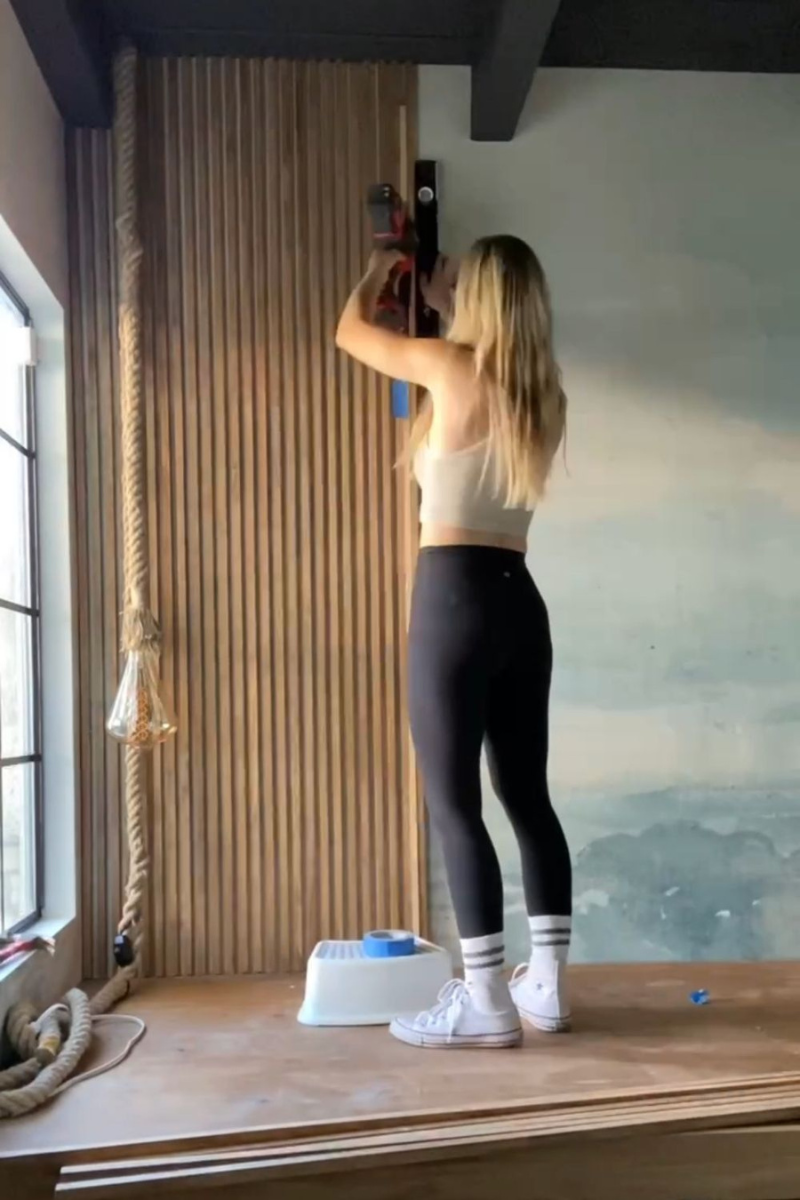
Step 1: Make the Slats
To make a slat wall, first, you have to create the slate. Make sense, right? First, sand down your select pine boards and then cut them into strips. Make sure to measure and cut the boards to the length they needed to be to fit on the wall.
When I made the slat wall in my son’s room, I stripped the boards down into ¾” x ¾” strips with my table saw after they were smooth. If you use this method too, know that there will be A LOT of sawdust! Like, handfuls and handfuls of sawdust! But I promise it’s worth it.
Step 2: Stain the Slats
Once you deal with the sawdust mess, it’s time for staining. If you are looking to speed up the staining process, try propping a few slats up on two boards and pushing them together. That way you are able to apply the wood conditioner and stain to a few pieces at once. I usually do the conditioner first and then go back over the same side with the stain. After the first side is finished, flip each piece over and repeat the process. You only need to stain three of the four sides because the fourth would be up against the wall and never seen. After applying the stain to all the slats, let them rest for a bit before bringing them inside.
Step 3: Bring the Accent Wall Together
Each slat wall is different because of how the slats are spaced. Once you decide on the spacing you like, grab your brad nailer and start nailing the slats to the wall. A great trick to help keep things even is to use an extra unstained slat to measure spacing and a level to make sure everything was straight. Unfortunately, not all walls are straight so you don’t want to skip your spacing. So I’d recommend starting in the middle of the wall. When I created my slat wall I had to go back and cut it a little shorter so they fit right.
3 Unique Wood Trim Accent Wall Techniques
Trimming walls with cool wood accents makes my heart so happy! I promise you will love any wall that you decide to refresh. The 3 ways to make unique accent walls with wood trim that I shared are just a few ideas of what can happen when you stop pinning and start doing. Once you finish your customized accent wall, tag me @angelarosehome on Instagram. I love having a supportive creative community. It’s why I am always sharing my latest projects on Instagram, TikTok, and here on the blog. Knowing you have people supporting you makes the DIY lifestyle so rewarding.